It was a Friday night, the kind of night when you’re craving something that feels indulgent yet surprisingly simple. I had a stack of tortilla chips left over from a last‑minute taco night, a half‑filled tub of guac, and a bag of shredded cheese that had been gathering dust in the fridge. The kitchen smelled like a Mexican market—spicy cumin, fresh cilantro, and the faint tang of lime. I stared at the ingredients, then decided, “Why not turn this into a layered dip that screams fiesta?” The result was a creamy, crunchy, tangy masterpiece that had me shouting, “I dare you to taste this and not go back for seconds.”
Picture this: a golden layer of refried beans, a blanket of melty cheddar and Monterey Jack, a vibrant swirl of salsa, a smooth coat of guac, and a final crown of crushed chips that crackles when you bite. The aroma that fills the kitchen as it bakes is a heady mix of toasted cheese, savory beans, and that bright, citrusy zing from lime. My guests’ faces lit up when they first tasted it—mouths wide, eyes sparkling, and the unmistakable sound of satisfied sighs. It’s not just a dip; it’s a celebration on a plate, a crowd‑pleaser that turns an ordinary gathering into an unforgettable event.
What sets this version apart is not just the layers, but the balance of textures and flavors that play off each other in perfect harmony. The beans provide a velvety base that holds everything together; the cheeses melt into a silky sauce that coats the chips; the salsa adds a punch of acidity; and the guac brings a creamy, buttery finish that lingers on the palate. I’ve spent years experimenting with dips, but this one feels like a cheat code for flavor—easy to assemble, impossible to resist, and incredibly versatile. And the best part? It’s a dish you can build ahead of time, bake, and serve right when the guests arrive.
I’ll be honest—when I first tried this recipe, I ate half the batch before anyone else got to try it. The dip was so good it felt like a guilty pleasure. But that’s the secret: it’s a dip that’s so delicious, you’ll find yourself reaching for a second scoop before you even realize you’re done. If you’ve ever struggled with dips that are either too dry or too runny, you’re not alone. The trick is in the layering and the careful selection of each ingredient, which I’ll walk you through step by step. By the end, you’ll wonder how you ever made it any other way.
What Makes This Version Stand Out
- Flavor Depth: The combination of beans, cheeses, salsa, and guac creates a complex flavor profile that’s both familiar and exciting. Each bite offers a new element—creamy, cheesy, spicy, and tangy—making it impossible to get bored.
- Texture Harmony: The creamy layers are offset by the crunchy chip crust, and the fresh veggies add a crisp bite that keeps the dip interesting throughout.
- Easy Assembly: No fancy equipment or advanced techniques required. Just layer, bake, and serve—ideal for last‑minute gatherings.
- Make‑Ahead Friendly: Prepare the dip up to an hour before the party, cover, and refrigerate. When the time comes, pop it in the oven for a quick finish.
- Visual Appeal: The colorful layers look as good as they taste, making it a showstopper on any table.
- Ingredient Quality: Using fresh, high‑quality ingredients like ripe tomatoes and freshly ground cumin elevates the dip from good to unforgettable.
- Scalable: Whether you’re feeding four or forty, the recipe scales up or down with ease, thanks to the built‑in serving adjuster.
- Versatility: Perfect for game nights, parties, potlucks, or a quick snack. You can swap out ingredients to suit dietary preferences or seasonal availability.
Alright, let’s break down exactly what goes into this masterpiece. But first, a quick kitchen hack that will save you time and keep the flavors pristine.
Inside the Ingredient List
The Flavor Base
Refried beans are the backbone of this dip, offering a smooth, comforting texture that holds the other layers together. Opt for homemade or a high‑quality canned variety with no added fillers. If you’re in a hurry, a quick splash of lime juice before baking will brighten the bean flavor and prevent them from drying out.
Salsa is the next star—choose a medium‑heat salsa that balances acidity with a hint of sweetness. A homemade salsa with fresh tomatoes, onions, cilantro, and jalapeños will give you a vibrant, fresh punch that stands up to the richness of the cheeses.
The Texture Crew
Cheddar and Monterey Jack cheeses bring a creamy melt and a subtle sharpness that pairs wonderfully with the beans. Sprinkle the cheddar first for a slightly firmer melt, then layer the Monterey Jack on top for a gooey finish. The cheeses should be shredded or grated finely so they melt evenly.
Sour cream adds a cool, tangy contrast that balances the heat from the salsa and jalapeños. It also creates a silky coating that makes each bite feel luxurious. Keep it cold until you’re ready to bake; this helps it hold its shape longer.
The Unexpected Star
Guacamole is more than just a garnish—it’s a creamy, buttery layer that adds depth and a subtle buttery flavor. Use ripe avocados for the best texture, and season with lime juice and a pinch of salt to prevent browning.
Black olives and diced onions bring a briny, slightly sweet bite that cuts through the richness of the cheeses. They also add a pop of color that makes the dip visually stunning.
The Final Flourish
Crushed tortilla chips are the crunchy crown that makes this dip unforgettable. Sprinkle them on top just before the final bake so they crisp up without becoming soggy. A handful of chopped cilantro and green onions finish the dish with a fresh, herbal note.
Ground cumin adds a warm, earthy undertone that ties the flavors together. A teaspoon is enough to infuse the entire dip without overpowering the other ingredients.
Everything’s prepped? Good. Let’s get into the real action.
The Method — Step by Step
- Preheat and Prep: Set your oven to 350°F (175°C) and grease a 9x9‑inch baking dish. Line the bottom with a thin layer of crushed tortilla chips—this prevents sticking and gives the dip a crunchy base right from the start. The aroma of toasted chips will set the stage for the rest of the flavors.
- First Layer — Beans: Spread the refried beans evenly over the chip base, smoothing them into a thin, uniform sheet. This layer is the glue that holds all subsequent flavors together. Think of it as the canvas of a masterpiece; you want it smooth and even.
- Cheese Overload: Sprinkle a generous layer of shredded cheddar over the beans. The cheddar adds a sharp, buttery bite that will melt into a velvety coating. After the cheddar, add a layer of Monterey Jack; its milder flavor will complement the cheddar without competing.
- Layer the Salsa: Drizzle the salsa over the cheeses, allowing it to seep into the gaps. The salsa’s acidity cuts through the richness of the cheeses and beans, creating a balanced flavor profile. Be generous—this is where the dip gets its bright, zesty kick.
- Guac and Sour Cream: Dollop spoonfuls of guacamole and sour cream in a checkerboard pattern. The guac provides a buttery smoothness, while the sour cream adds a cool tang that lingers on the tongue. This dual layering keeps the dip from becoming too heavy.
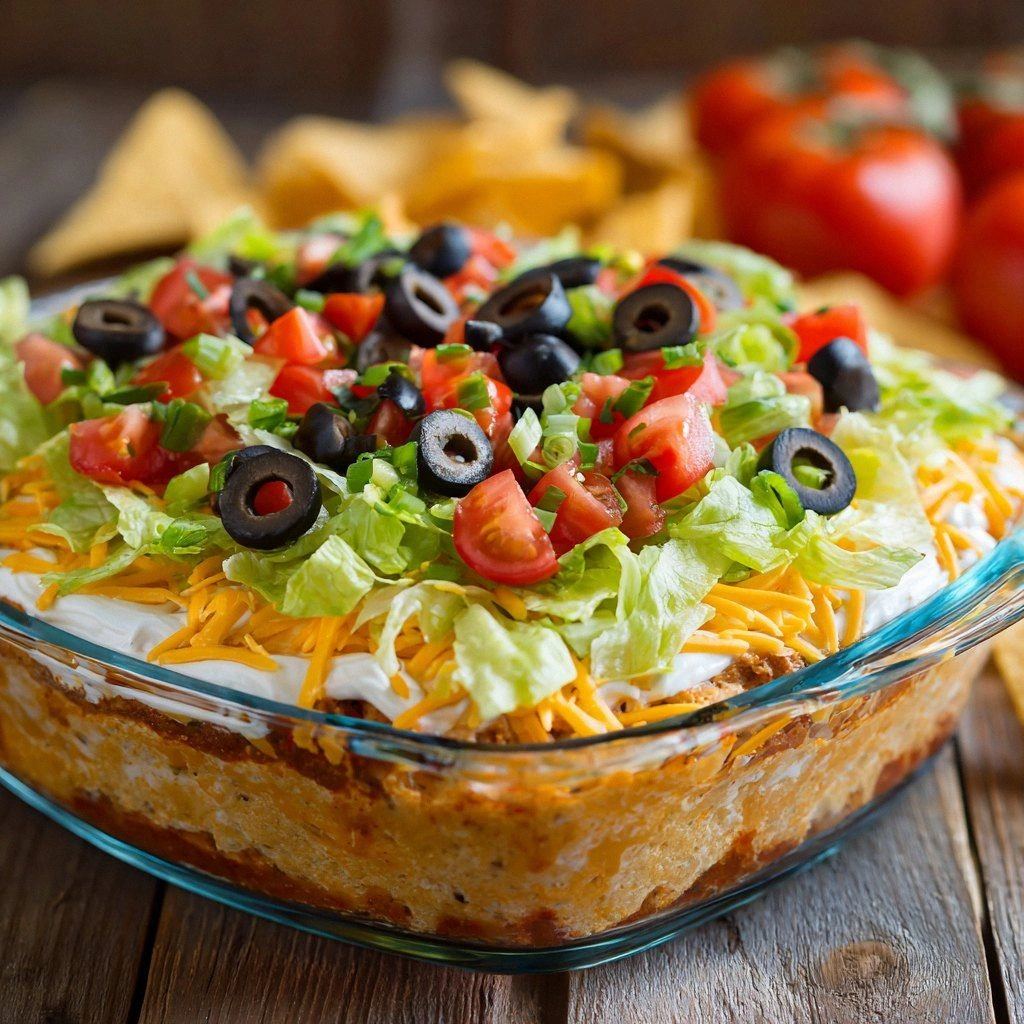
- Fresh Veggie Burst: Sprinkle diced tomatoes, black olives, onions, cilantro, jalapeños, and green onions over the creamy layers. The veggies add crunch, color, and a burst of freshness that brightens each bite. They’re the edible confetti that makes this dip feel celebratory.
- Seasoning Touch: Sprinkle ground cumin, salt, and pepper over the top. The cumin adds a warm, earthy note, while salt and pepper bring out the flavors of every component. A light dusting of lime juice over the entire dip just before baking will give it that citrusy lift.
- Bake to Perfection: Cover the dish with foil and bake for 25 minutes. Then remove the foil, sprinkle the remaining crushed tortilla chips on top, and bake for an additional 5 minutes until the chips are golden and crisp. The dip should smell toasty and the edges will start pulling away—this is the moment of truth.
- Let It Set: Remove from the oven and let the dip rest for 10 minutes. This allows the layers to settle, making it easier to scoop. The dip will be hot, but the resting period ensures the flavors meld beautifully.
That’s it—you did it. But hold on, I’ve got a few more tricks that will take this to another level. Let’s dive into some insider knowledge that will make your dip even more spectacular.
Insider Tricks for Flawless Results
The Temperature Rule Nobody Follows
Many people bake dips at high temperatures, thinking it will speed up the process. However, a low and slow bake (350°F) ensures the cheeses melt evenly and the flavors meld without scorching. If you’re in a rush, a quick 10‑minute blast at 425°F can finish the job, but watch the dip closely to avoid burning.
Why Your Nose Knows Best
The first scent that hits you as the dip bakes is a powerful indicator of doneness. A warm, buttery aroma with a hint of toasted cheese signals that the layers are melting just right. If you still smell raw beans, give it another 5 minutes. Trust your nose; it’s the best judge of flavor.
The 5‑Minute Rest That Changes Everything
Letting the dip sit for 5‑10 minutes after baking allows the cheeses to set, making the dip easier to scoop. It also lets the flavors integrate fully, so each bite is a harmonious blend rather than a disjointed mess. A friend once tried skipping this step and ended up with a dip that was too hot to serve.
Layering Order Secrets
The order of layering matters more than you might think. Start with the beans, then the cheeses, followed by the salsa, and finish with the creamy layers. This sequence ensures each layer has a chance to melt into the next, creating a cohesive texture. If you layer the guac on top of the salsa, it can separate and become watery.
Using a Foil Trick
Covering the dish with foil during the first 25 minutes traps steam, preventing the dip from drying out. When you remove the foil for the final 5 minutes, the top crust crisps up beautifully. This simple trick gives you a crisp, golden top without the risk of burning.
Quick Clean‑Up Hack
Instead of rinsing the baking dish with water, wipe it with a paper towel soaked in a little vinegar. This removes any stuck cheese or bean residue quickly and keeps the dish ready for the next recipe.
Creative Twists and Variations
This recipe is a playground. Here are some of my favorite ways to switch things up:
Spicy Chipotle Twist
Add a tablespoon of chipotle adobo sauce to the salsa for a smoky heat that pairs beautifully with the creamy layers. It’s perfect for those who like a little extra kick.
Mediterranean Flair
Replace the refried beans with a layer of hummus, use feta instead of cheddar, and sprinkle chopped kalamata olives and diced cucumbers for a fresh, Mediterranean vibe.
Vegan Version
Swap the cheese for a vegan cheese blend, use dairy‑free sour cream, and ensure your beans are plant‑based. The result is a creamy, indulgent dip that’s 100% plant‑based.
Breakfast Taco Dip
Layer scrambled eggs, breakfast sausage crumbles, and a sprinkle of shredded cheddar. Serve with toasted English muffins or bagels for a hearty breakfast or brunch.
Dessert Taco Dip
Use a sweet bean spread, top with chocolate chips, marshmallow fluff, and a drizzle of caramel sauce. Serve with graham crackers or mini cookies for a playful dessert twist.
Storing and Bringing It Back to Life
Fridge Storage
Store the assembled dip (without the final chip crust) in an airtight container in the refrigerator for up to 48 hours. When you’re ready to serve, preheat the oven to 350°F, top with a fresh layer of crushed chips, and bake for 10 minutes until hot and bubbly.
Freezer Friendly
Freezing the dip in a freezer‑safe container will preserve it for up to 2 weeks. Thaw overnight in the fridge, then bake at 350°F for 25 minutes, topping with fresh chips before the last 5 minutes.
Best Reheating Method
Add a splash of water or a drizzle of sour cream before reheating to keep the dip moist. Microwave on medium power for 2–3 minutes, stirring halfway through, or reheat in the oven as described above for the best texture.