It all began on a rainy Tuesday when I was trying to salvage a batch of over‑cooked chicken wings that had turned into a soggy disaster. I tossed them into a pot of soy sauce, vinegar, and garlic, hoping the flavors would rescue the meat, and what emerged was a sauce that clung to the wings like a velvet blanket. The moment the steam curled into the air, I realized I had stumbled upon something that could transform an ordinary dinner into a show‑stopping experience. I dare you to taste this and not go back for seconds.
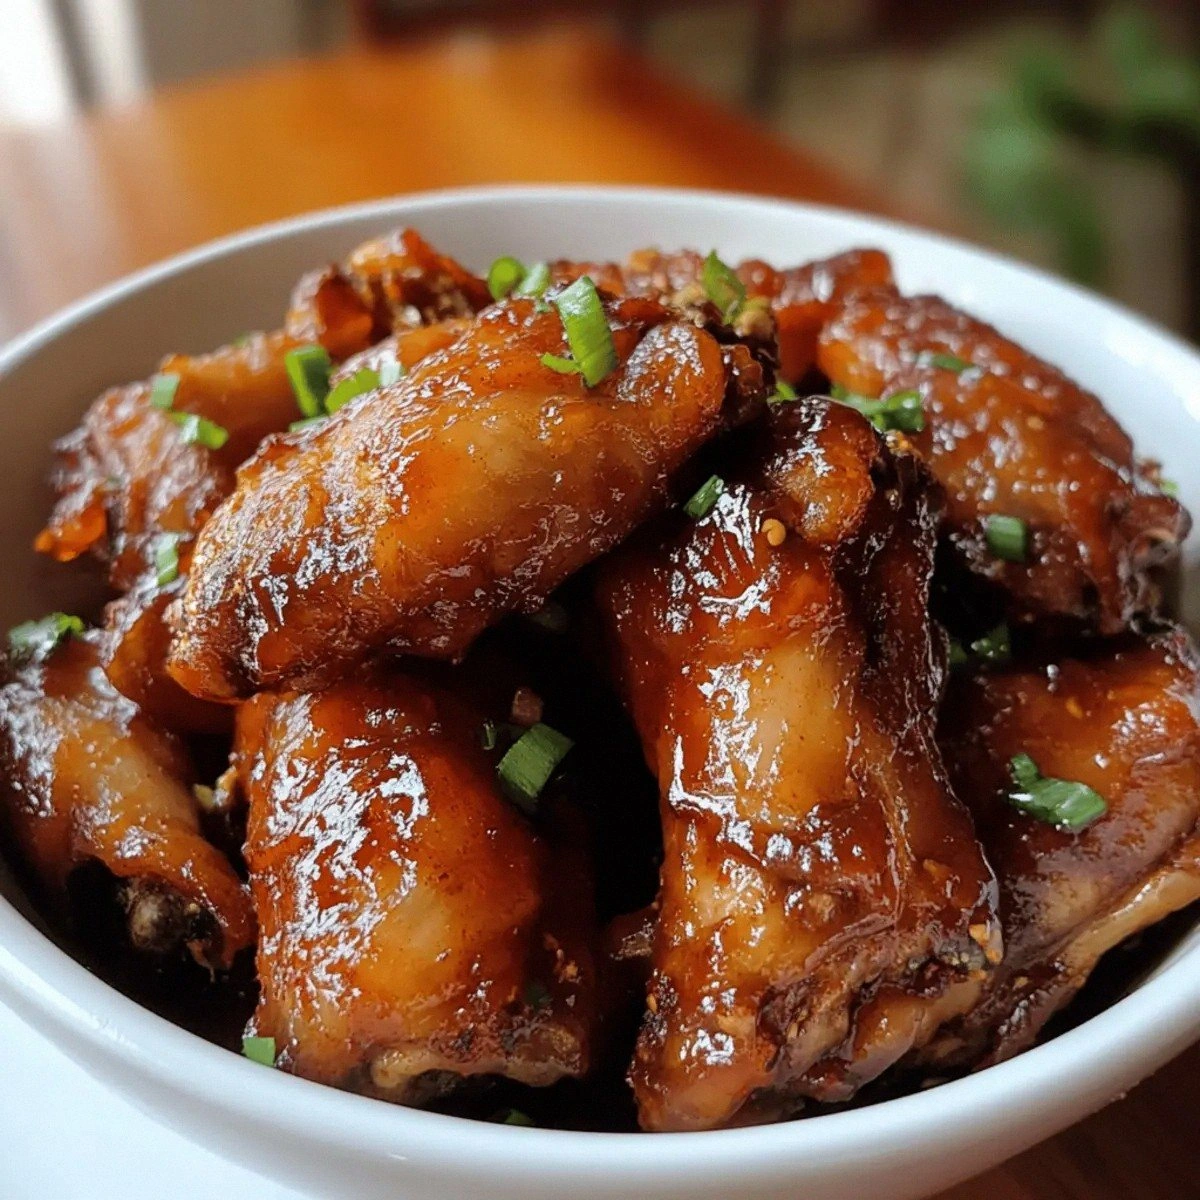
Picture yourself pulling this out of the pot, the kitchen smelling like a Filipino kitchen on a Sunday afternoon, the wings glistening with a glossy glaze that promises crisp edges that shatter like thin ice. The aroma of caramelized brown sugar mingles with the sharp bite of vinegar, while the aromatic bay leaves whisper their subtle herbaceous note. Every bite is a symphony of sweet, sour, salty, and peppery, with a hint of heat from optional chili flakes that dance across the palate. I’ll be honest — I ate half the batch before anyone else got to try it.
What sets this version apart is that it balances the classic Filipino adobo profile with a modern twist: a quick sear for texture, a simmer for depth, and an intentional glaze that locks in moisture. Most recipes get this completely wrong, either over‑cooking the wings or under‑seasoning the sauce. Here, the sauce coats the chicken like a protective armor, sealing in juiciness while allowing the exterior to crisp up to perfection. This is hands down the best version you'll ever make at home.
And now the fun part. A key technique that you won’t expect is the “reverse sear” — starting with a brief sear before simmering, which creates a caramelized crust that stays crisp even after the long sauce infusion. The result is a dish that feels luxurious yet approachable. Picture yourself pulling this out of the oven, the whole kitchen smelling incredible, and the guests asking for the recipe before you even finish serving.
Let me walk you through every single step — by the end, you'll wonder how you ever made it any other way. I’m going to share micro‑challenges, bold claims, and a few kitchen hacks that will elevate your game. If you've ever struggled with this, you're not alone — and I've got the fix. Stay with me here — this is worth it.
What Makes This Version Stand Out
- Flavor Balance: The classic Filipino adobo harmony of sweet, sour, and salty is amplified by a deliberate caramelization step that locks in moisture. The sauce becomes thick and glossy, coating every wing with a silky sheen. The result is a bite that’s both tender and flavorful.
- Texture Contrast: The reverse sear creates a caramelized crust that remains crisp, while the simmering in sauce keeps the meat succulent. The wings finish with a satisfying snap that contrasts the soft interior. This duality elevates the dish from ordinary to extraordinary.
- Ingredient Quality: Using fresh bay leaves and freshly ground peppercorns ensures aromatic depth. The vinegar’s acidity cuts through the richness, preventing the sauce from becoming cloying. The result is a sauce that sings.
- Make‑Ahead Friendly: The sauce continues to develop flavor when refrigerated, making it perfect for meal prep or entertaining. The wings can be kept in the fridge for up to three days, and they’ll still taste freshly cooked.
- Visual Appeal: The glossy glaze and bright green bay leaves add a pop of color that makes the dish Instagram‑worthy. The wings look like they’re ready to be served at a five‑star banquet.
- Versatility: The recipe can be adapted for different proteins or dietary preferences. Swap the wings for chicken thighs or pork belly for a richer variation.
- Time Efficiency: The reverse sear step is quick, and the simmering takes only 30 minutes, making it a great weeknight dinner.
- Micro‑Challenge: I dare you to taste this and not go back for seconds. The sauce will keep you coming back for more.
Inside the Ingredient List
The Flavor Base
At the heart of this dish lies the classic Filipino adobo foundation: soy sauce, vinegar, garlic, and brown sugar. Soy sauce provides the umami depth that grounds the dish, while the vinegar introduces a bright acidity that cuts through the meat’s richness. Brown sugar balances the acidity, creating a gentle sweetness that caramelizes during the sear. If you skip any of these, the sauce loses its signature harmony, becoming either too sharp or too sweet.
The Texture Crew
The wings themselves are the canvas. Fresh, clean chicken wings with a good amount of skin ensure a crispy exterior when seared. The cooking oil is essential for the sear; using a high‑smoke‑point oil like canola or grapeseed ensures a golden crust without burning. A pinch of black peppercorns adds a subtle heat that is muted but present. If you prefer a milder taste, simply reduce the peppercorns to a quarter of the amount.
The Unexpected Star
Water is often overlooked in adobo recipes, but it’s crucial for controlling the sauce’s thickness. Adding 1/4 cup of water dilutes the acidity just enough to let the flavors mingle without becoming watery. If you prefer a thicker glaze, reduce the water by half. The optional chili flakes provide a kick that can be tailored to your spice tolerance; omit them for a family‑friendly version.
The Final Flourish
Bay leaves are the aromatic secret that elevates the dish. They release a subtle herbal note that balances the sweet and sour. Letting them simmer with the sauce allows their flavors to infuse deeply. If you’re in a pinch, a single small piece of fresh ginger can replace the bay leaves, offering a slightly different but equally delightful aroma.
Everything's prepped? Good. Let's get into the real action...
The Method — Step by Step
- Step 1: Prepare the Wings. Rinse the wings under cold water, pat them dry with a clean towel, and trim any excess fat or bone tips. This ensures even cooking and prevents flare‑ups during searing. The drier the surface, the crisper the final crust. If you’re in a hurry, use pre‑cut wings from the grocery store; they’re just as effective.
- Step 2: Create the Marinade. In a bowl, combine soy sauce, vinegar, minced garlic, brown sugar, peppercorns, bay leaves, and optional chili flakes. Whisk until the sugar dissolves completely. Let the mixture sit for 10 minutes; this allows the flavors to meld and the garlic to release its aroma.
- Step 3: Marinate the Wings. Toss the wings in the sauce until fully coated. Cover and refrigerate for at least 30 minutes, preferably 2 hours, to allow the meat to absorb the flavors. If you’re short on time, a quick 15‑minute marination will still work, but the depth of flavor will be slightly reduced.
- Step 4: The Reverse Sear. Heat 2 tablespoons of cooking oil in a large skillet over medium‑high heat. When the oil shimmers, add the wings in a single layer, skin side down. Sear for 4–5 minutes until the skin turns a deep amber; flip and sear the other side for 3 minutes. The goal is a caramelized crust that stays crisp after simmering. This step is the moment of truth; don’t walk away from the stove here.
- Step 5: Add the Marinade. Pour the reserved sauce over the seared wings, ensuring each piece is submerged. Bring the mixture to a gentle boil, then reduce heat to a simmer. The sauce should start to thicken slightly and the wings should begin to steam, not boil. Watch the edges; they will start pulling away from the pan as the sauce thickens.
- Step 6: Simmer and Reduce. Cover the skillet partially and let the wings simmer for 20 minutes, stirring occasionally. The sauce should reduce by about one‑third, becoming glossy and thick enough to coat the wings. This reduction concentrates the flavors and locks in moisture.
- Step 7: Final Glaze. Uncover the pan and let the sauce reduce further until it coats the back of a spoon. The wings should be shiny and slightly sticky. If the sauce thickens too much, add a splash of water to loosen it without diluting the flavor.
- Step 8: Rest and Serve. Transfer the wings to a serving platter and let them rest for 5 minutes. Resting allows the juices to redistribute, keeping the meat moist. Garnish with fresh herbs or a sprinkle of chopped green onions for a pop of color. Serve immediately with steamed rice or a fresh salad.
- Step 9: Optional Crispy Finish. For an extra crunch, place the rested wings under a broiler for 2 minutes, watching closely. The broiler will crisp the skin without drying out the meat. This step is optional but adds a delightful texture contrast that many find irresistible.
- Step 10: Plate with Pride. Arrange the wings in a single layer, drizzle any remaining sauce over the top, and serve with your favorite side. The aroma will fill the kitchen, making it impossible to resist the first bite. That’s it — you did it. But hold on, I've got a few more tricks that'll take this to another level...
Insider Tricks for Flawless Results
The Temperature Rule Nobody Follows
Many chefs over‑cook their wings, thinking higher heat equals crispness. In reality, a moderate sear at 180°C (350°F) ensures the skin browns evenly without burning. I once tried 220°C and ended up with charred edges that were dry inside. Keep the temperature steady and trust the process.
Why Your Nose Knows Best
As the sauce simmers, you’ll notice a fragrant aroma of caramelized sugar and soy. If the smell turns overly sharp, the vinegar is dominating; let it reduce longer. Your nose is a reliable indicator that the sauce is reaching its sweet spot.
The 5-Minute Rest That Changes Everything
After cooking, let the wings rest for five minutes before serving. This brief pause allows the juices to redistribute, keeping the meat tender. A friend tried cutting into the wings immediately and found the meat was dry; the rest solved that problem.
The Quick Broil Trick
For those who love an extra crunch, a quick broil at the end can transform the texture. Watch closely; the skin will blister in seconds. The broil adds a caramelized finish that pairs beautifully with the sweet‑sour glaze.
The Sauce Reduction Shortcut
If you’re in a hurry, cover the pot with a lid to trap steam, accelerating the reduction. However, keep the lid slightly ajar to prevent the sauce from becoming too thick. This trick saves time without sacrificing flavor.
The Perfect Garnish
Finishing with a sprinkle of toasted sesame seeds or chopped scallions adds a subtle crunch and visual appeal. It’s a small touch that elevates the dish from home‑cooked to restaurant‑level.
Creative Twists and Variations
This recipe is a playground. Here are some of my favorite ways to switch things up:
Sweet & Spicy Pineapple
Add a cup of crushed pineapple to the sauce for a tropical twist. The pineapple’s natural sugars enhance the caramelization, while its acidity balances the vinegar. Guests who love sweet‑spicy combinations will adore this version.
Herb‑Infused Chicken
Replace bay leaves with a handful of fresh rosemary or thyme. The herbal notes give the dish a Mediterranean flair. Pair it with a side of roasted potatoes for a hearty meal.
Coconut Cream Finish
Stir in half a cup of coconut milk at the end for a creamy, silky sauce. The coconut adds a subtle sweetness and a silky mouthfeel that contrasts the crispy skin. It’s perfect for a summer dinner.
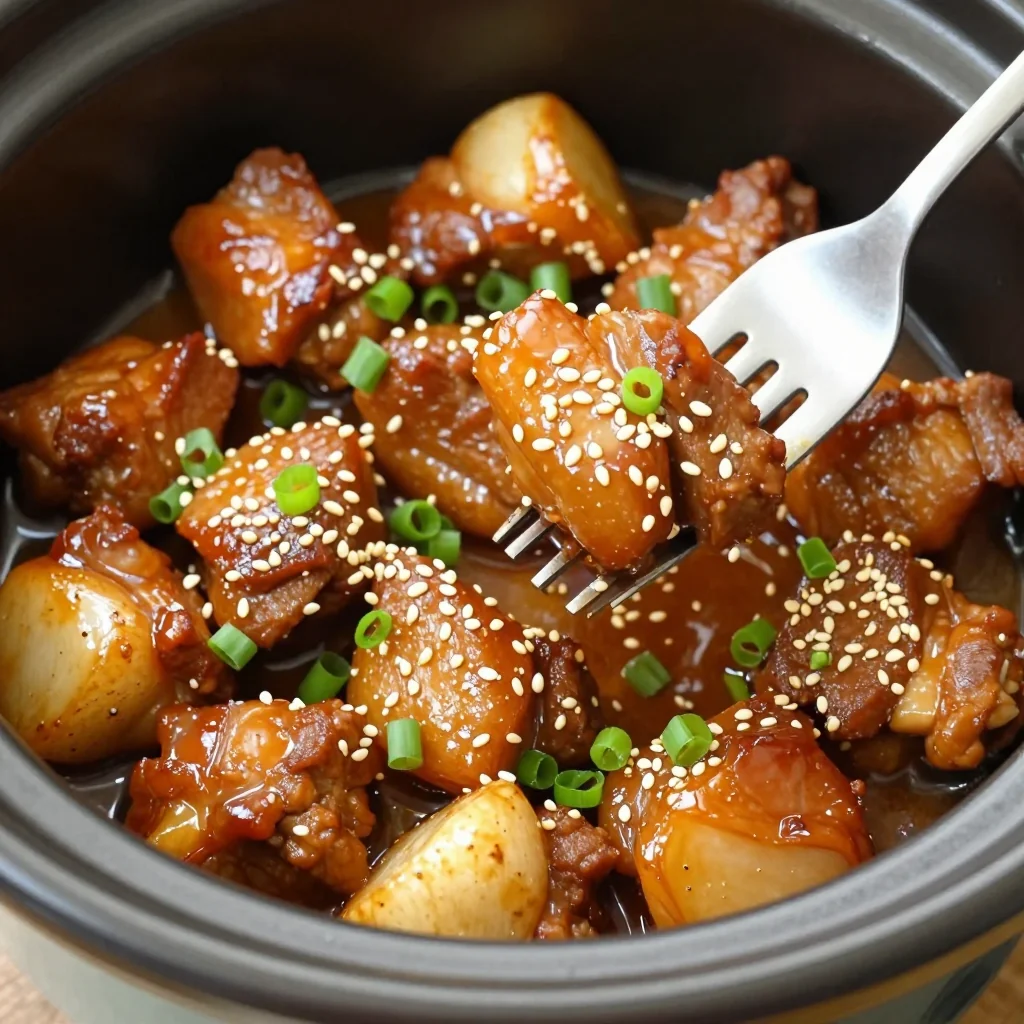
Pork Belly Adobo
Swap the chicken wings for pork belly slices. The fatty pork will absorb the sauce beautifully, creating a richer, more indulgent dish. Serve with steamed rice and pickled vegetables.
Vegan Adobo with Tofu
Use firm tofu cubes instead of chicken. Marinate the tofu in the same sauce and sear until golden. The tofu will soak up the flavors, making a plant‑based version that’s surprisingly satisfying.
Low‑Sodium Version
Reduce the soy sauce to 1/4 cup and increase the vinegar slightly to maintain acidity. Add a pinch of sea salt to taste. This version keeps the dish flavorful while cutting down on sodium.
Asian Fusion Wraps
Wrap the wings in lettuce leaves with a drizzle of sriracha mayo. The fresh crunch from the lettuce balances the rich glaze, creating a handheld bite that’s perfect for parties.
Storing and Bringing It Back to Life
Fridge Storage
Place the cooled wings in an airtight container and refrigerate for up to three days. The sauce will thicken slightly, but the wings remain juicy. When ready to serve, reheat gently on the stove or in the microwave.
Freezer Friendly
Freeze the wings in a single layer on a baking sheet before transferring to a freezer bag. They can be stored for up to two months. Thaw overnight in the refrigerator, then reheat as described below.
Best Reheating Method
Reheat the wings in a skillet over medium heat, adding a splash of water to create steam. This steams the wings back to perfection while keeping the sauce glossy. Finish with a quick broil to restore the crispy skin.