I was in the middle of a rainy Thursday night, the kind where the wind howls against the windows and every spoonful of soup feels like a hug. I had promised my roommates a snack, but the pantry only offered a sad bag of plain crackers and a wilted bunch of spinach. I stared at the empty plate, then at the lone Yukon Gold potatoes that had been waiting in the fridge for days, and thought, “What if I could turn these humble spuds into something that feels like a warm blanket?” That moment of desperation sparked the birth of the ultimate knish, and let me tell you, this is hands down the best version you’ll ever make at home.
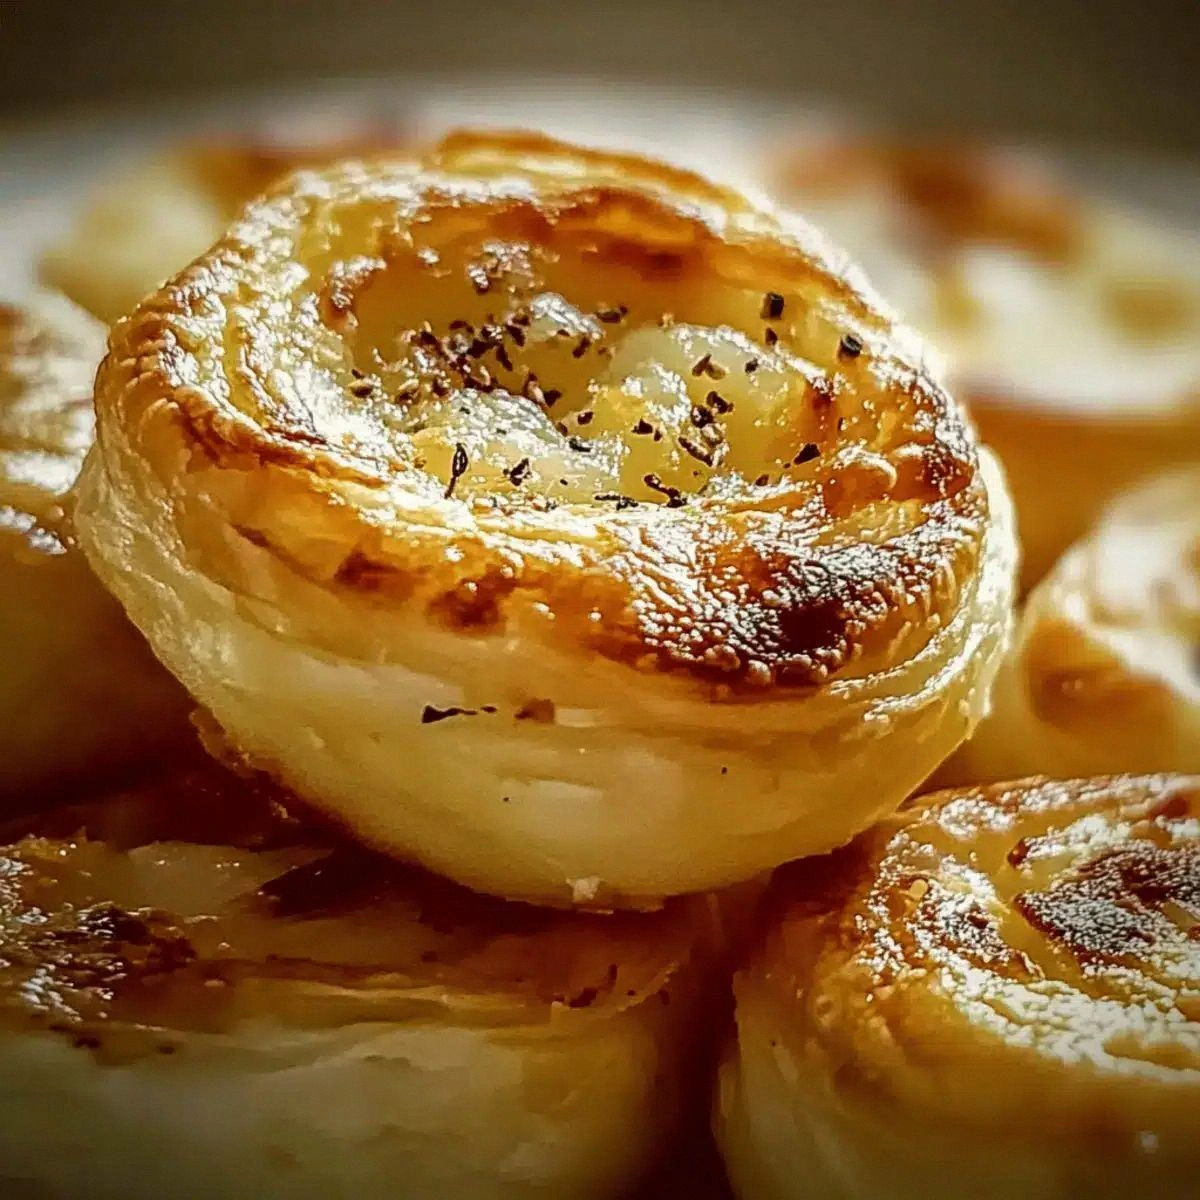
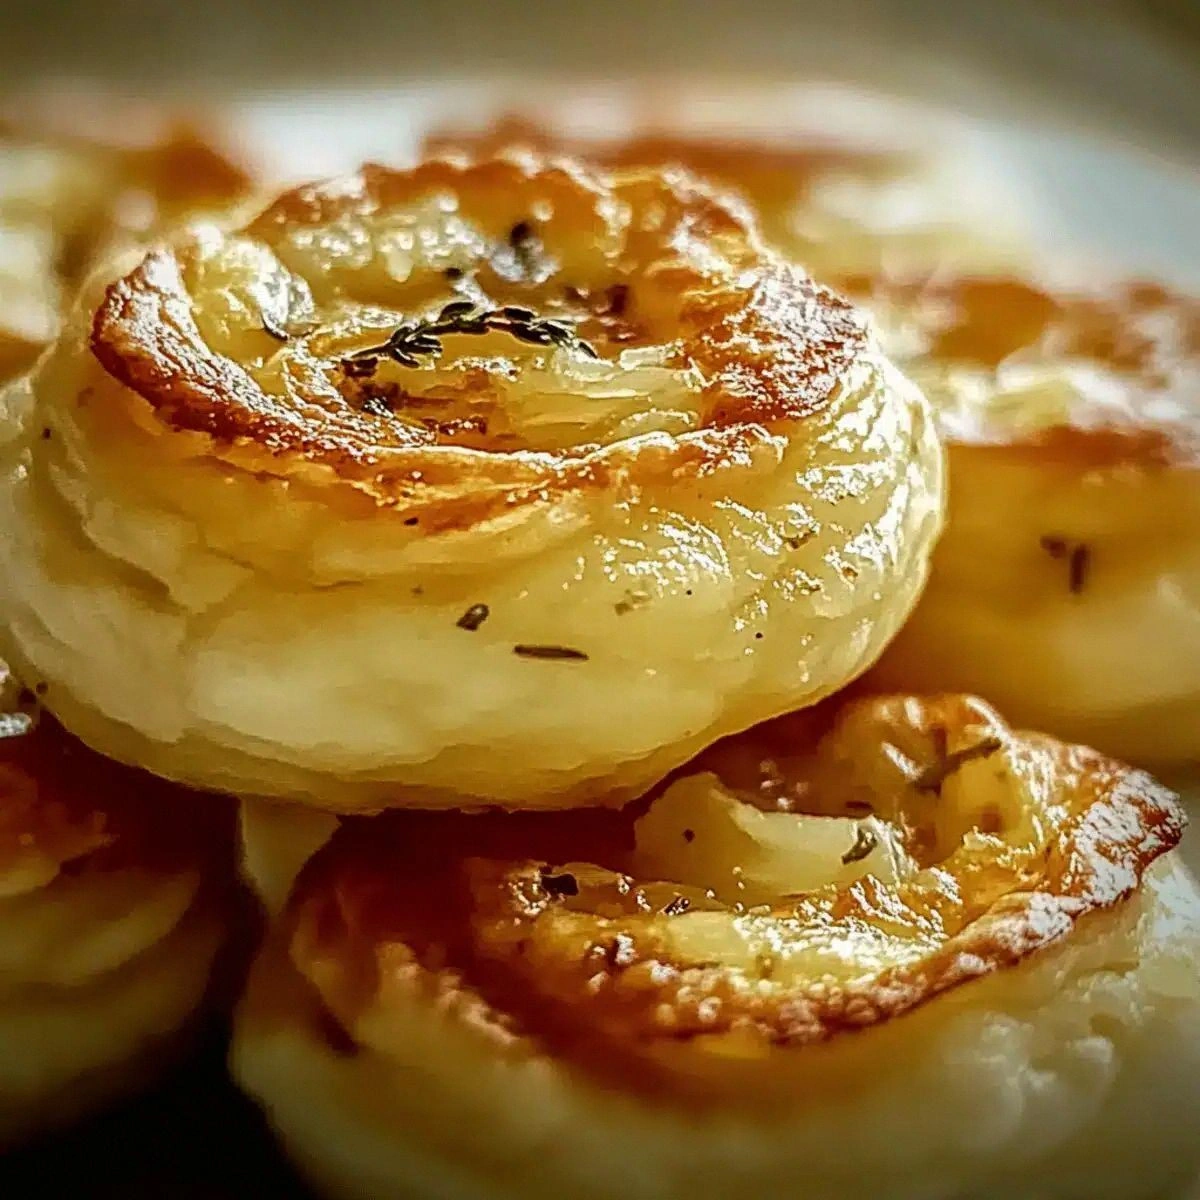
Picture this: a golden‑brown crust that shatters like thin ice when you bite into it, giving way to a silky, buttery interior that cradles a fluffy potato‑onion mash, melted cheese, and a surprise burst of sautéed spinach that whispers of garden freshness. The aroma that fills the kitchen is a heady mix of caramelized onions, toasted butter, and a faint earthy note from the potatoes, all mingling with the comforting scent of melted cheese. When you finally pull the knishes from the oven, the whole house smells like a cozy bakery on a Sunday morning, and you can practically hear the dough sigh in relief.
Most knish recipes I’ve tried either end up soggy, bland, or just plain confusing. They either drown the potatoes in a heavy cream sauce or skip the crucial butter‑flour lamination that gives the pastry its flaky soul. I’ve cracked the code: a simple butter‑flour dough that’s chilled, rolled thin, and folded just right, combined with a filling that balances richness and brightness. I dare you to taste this and not go back for seconds—because once you’ve experienced that perfect bite, nothing else will compare.
I’m about to walk you through every single step—by the end, you’ll wonder how you ever made knishes any other way. Okay, ready for the game‑changer? This next part? Pure magic. Stay with me here — this is worth it.
What Makes This Version Stand Out
- Flakiness: The dough is a buttery lamination that creates layers like a mille‑feuille, giving you that crisp‑to‑the‑edge bite that most knishes lack.
- Flavor Depth: Caramelized onions and a hint of garlic infuse the filling, while the cheese adds a creamy surprise that melts into every forkful.
- Texture Harmony: Silky mashed potatoes meet the slight chew of sautéed spinach, creating a contrast that feels like a symphony in your mouth.
- Simplicity: Only nine ingredients, all pantry‑friendly, and no fancy equipment—just a rolling pin and a good sense of timing.
- Make‑Ahead Friendly: The dough can be chilled overnight, and the filling can be pre‑cooked, making assembly a breeze on busy nights.
- Crowd‑Pleaser: Whether you’re feeding a family, a party, or just yourself, these knishes disappear faster than you can say “more, please.”
- Ingredient Quality: Using Yukon Gold potatoes gives a buttery richness that russet potatoes simply can’t match.
- Versatility: Swap the spinach for mushrooms, or the cheese for ricotta, and you’ve got a whole new snack without starting from scratch.
Inside the Ingredient List
The Flavor Base
Onions are the unsung heroes of any comfort food, and when you caramelize them until they turn a deep amber, they release natural sugars that coat the potatoes like velvet. This sweetness balances the salty cheese and the earthy spinach, creating a flavor profile that feels both familiar and exciting. If you’re missing onions, try a shallow fry of shallots for a milder, yet still aromatic, foundation.
The Texture Crew
Yukon Gold potatoes are chosen for their creamy, buttery flesh, which mashes into a silky base without turning gluey. The cold butter in the dough creates steam pockets that puff up the crust, while the egg acts as a binder and gives the pastry a glossy finish. Skipping the egg? Expect a dull, matte crust that won’t hold its shape as well.
The Unexpected Star
Cheese—whether you opt for sharp Cheddar or mild Ricotta—adds a melty heart that stretches with each bite, turning a simple potato pocket into a luxurious experience. The cheese also contributes a subtle umami note that elevates the entire dish. If you’re dairy‑free, a crumble of toasted nutritional yeast can mimic that cheesy depth without the dairy.
The Final Flourish
Fresh spinach or earthy mushrooms bring a pop of color and a burst of freshness that cuts through the richness. Spinach adds a slight bitterness that balances the sweet onions, while mushrooms contribute an earthy depth that feels almost meaty. When selecting spinach, choose dark, glossy leaves; wilted or yellowed leaves will introduce a bitter aftertaste.
Everything's prepped? Good. Let’s get into the real action…
The Method — Step by Step
Start by making the dough: In a large mixing bowl, whisk together the flour and a pinch of salt. Cut the cold butter into small cubes, then toss them into the flour. Using your fingertips, rub the butter into the flour until the mixture resembles coarse crumbs—think the texture of sand at the beach. Add the egg and gently bring the dough together with just enough cold water (about 2‑3 Tbsp) to form a cohesive ball. Wrap the dough in plastic, flatten it into a disc, and refrigerate for at least 30 minutes. That chilling time? Pure magic.
Kitchen Hack: If the dough feels too dry after chilling, sprinkle a few drops of ice water; too much liquid will make it tough.While the dough chills, prep the filling. Peel the Yukon Gold potatoes and cut them into even 1‑inch cubes. Place them in a pot of salted water, bring to a boil, and simmer until fork‑tender, about 12‑15 minutes. Drain and return to the pot, then mash with a potato masher or fork until smooth. Set aside to cool slightly.
In a skillet, melt a tablespoon of butter over medium heat. Add the diced onion and a pinch of salt, then sauté until the edges turn caramel brown and the aroma fills the kitchen—about 8‑10 minutes. Stir occasionally to prevent burning; you want that deep, sweet flavor, not a burnt aftertaste.
Watch Out: If the heat is too high, the onions will crisp instead of caramelize, ruining the flavor balance.Combine the mashed potatoes, caramelized onions, cheese, and the sautéed spinach (or mushrooms) in a large bowl. Season with salt and freshly cracked black pepper to taste. The mixture should be creamy, with the cheese melting into the potatoes like a glossy river. If it feels too thick, add a splash of milk or broth; if too loose, a spoonful of flour will help bind it.
Roll the chilled dough on a lightly floured surface to a thickness of about 3 mm—thin enough to hear a faint crack when you press it, but sturdy enough to hold the filling. Using a round cutter (about 4‑5 inches in diameter), cut out circles. Keep the scraps covered; you’ll need them for more knishes.
Place a generous spoonful of filling in the center of each dough circle. Fold the dough over to form a half‑moon, then press the edges together with your fingers. For a tighter seal, crimp the edges with a fork—this also adds a decorative pattern that looks professional.
Preheat your oven to 400 °F (200 °C). Line a baking sheet with parchment paper and arrange the knishes, leaving a little space between each. Brush the tops lightly with an egg wash (beat the remaining egg with a splash of water) to achieve that golden sheen. Slide the tray into the oven and bake for 20‑25 minutes, or until the edges are a deep amber and the tops are glossy.
When the timer dings, pull the knishes out and let them rest on a wire rack for 5 minutes. This short pause lets the steam settle, ensuring the crust stays crisp. Serve warm, with a side of sour cream or a drizzle of herb‑infused olive oil if you like. That sizzle when it hits the pan? Absolute perfection.
That's it — you did it. But hold on, I've got a few more tricks that'll take this to another level…
Insider Tricks for Flawless Results
The Temperature Rule Nobody Follows
Always keep your butter and flour cold until the moment you start mixing. Warm butter melts into the flour too quickly, preventing the steam pockets that create flaky layers. I keep a small ice cube in the bowl while I work; it sounds crazy but it keeps the dough temperature down. If you accidentally let the dough sit out for more than 10 minutes, pop it back in the fridge for a quick chill before rolling.
Why Your Nose Knows Best
When sautéing onions, trust the smell more than the timer. The moment the kitchen fills with that sweet, caramel perfume, you’re on the right track. If you hear a faint pop, that’s the water in the onions evaporating—keep stirring and you’ll avoid scorching. A burnt onion will impart bitterness that no amount of cheese can mask.
The 5‑Minute Rest That Changes Everything
After baking, let the knishes rest on a wire rack for at least five minutes. This short pause allows the interior steam to settle, preventing soggy bottoms. It also gives the crust a chance to firm up, so when you bite in, you get that satisfying crunch. Skipping this step is the fastest way to end up with a floppy pastry.
Size Matters: Uniformity Equals Even Baking
Use a ruler or a kitchen scale to ensure each dough circle is the same diameter and each filling portion is equal. Uniform knishes bake evenly, so you won’t end up with some that are undercooked while others are over‑browned. I like to scoop the filling with a tablespoon and level it off for consistency.
Egg Wash Secrets
For that picture‑perfect shine, whisk the egg with a teaspoon of milk or cream. The added fat gives a richer color and a slightly glossy finish. Brush the tops lightly—too much egg wash can cause the crust to become rubbery. If you want a rustic look, skip the wash and sprinkle a few coarse sea salts on top before baking.
Creative Twists and Variations
This recipe is a playground. Here are some of my favorite ways to switch things up:
Cheesy Mushroom Medley
Swap the spinach for a mix of sautéed cremini and shiitake mushrooms, and use a blend of Gruyère and mozzarella for a richer, earthy flavor. The mushrooms add a meaty bite that makes these knishes perfect for a vegetarian main course.
Spicy Jalapeño Kick
Finely dice a jalapeño and toss it into the potato mixture along with a pinch of smoked paprika. The heat balances the creamy cheese, creating a snack that’s both comforting and exciting.
Sweet Potato & Goat Cheese
Replace the Yukon Gold potatoes with roasted sweet potatoes and crumble goat cheese into the filling. The natural sweetness pairs beautifully with the tang of goat cheese, turning the knish into a sophisticated appetizer.
Herb‑Infused Feta & Olive
Mix crumbled feta, chopped Kalamata olives, and fresh oregano into the mash. This Mediterranean spin adds briny notes and a fragrant herb finish that transports you straight to a seaside tavern.
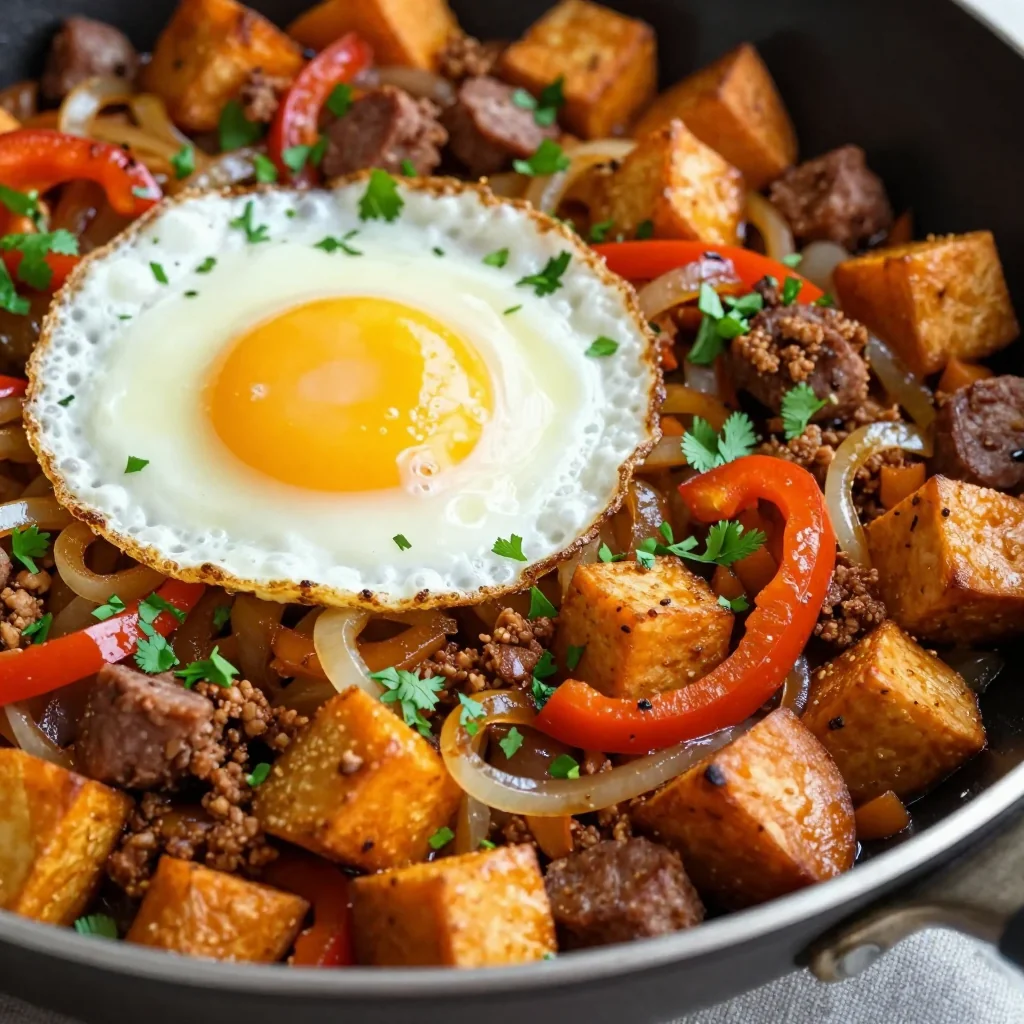
Breakfast Version
Add a soft‑boiled egg yolk in the center of each knish and sprinkle with chives. The runny yolk creates a luscious sauce that turns the knish into a breakfast powerhouse.
Storing and Bringing It Back to Life
Fridge Storage
Place cooled knishes in an airtight container or a zip‑top bag. They’ll stay fresh for up to three days. When you’re ready to eat, reheat in a 350 °F oven for 10 minutes; the crust will revive its crispness.
Freezer Friendly
Lay the baked (but cooled) knishes on a parchment‑lined tray and freeze until solid, then transfer to a freezer bag. They’ll keep for up to two months. To reheat, bake from frozen at 375 °F for 20‑25 minutes, adding a splash of water to the pan to create steam and prevent drying.
Best Reheating Method
For the ultimate texture, use a preheated oven rather than a microwave. Place the knishes on a wire rack over a baking sheet, add a tiny drizzle of water on the bottom pan, and heat for 8‑10 minutes. The steam revives the interior while the oven restores the flaky exterior.