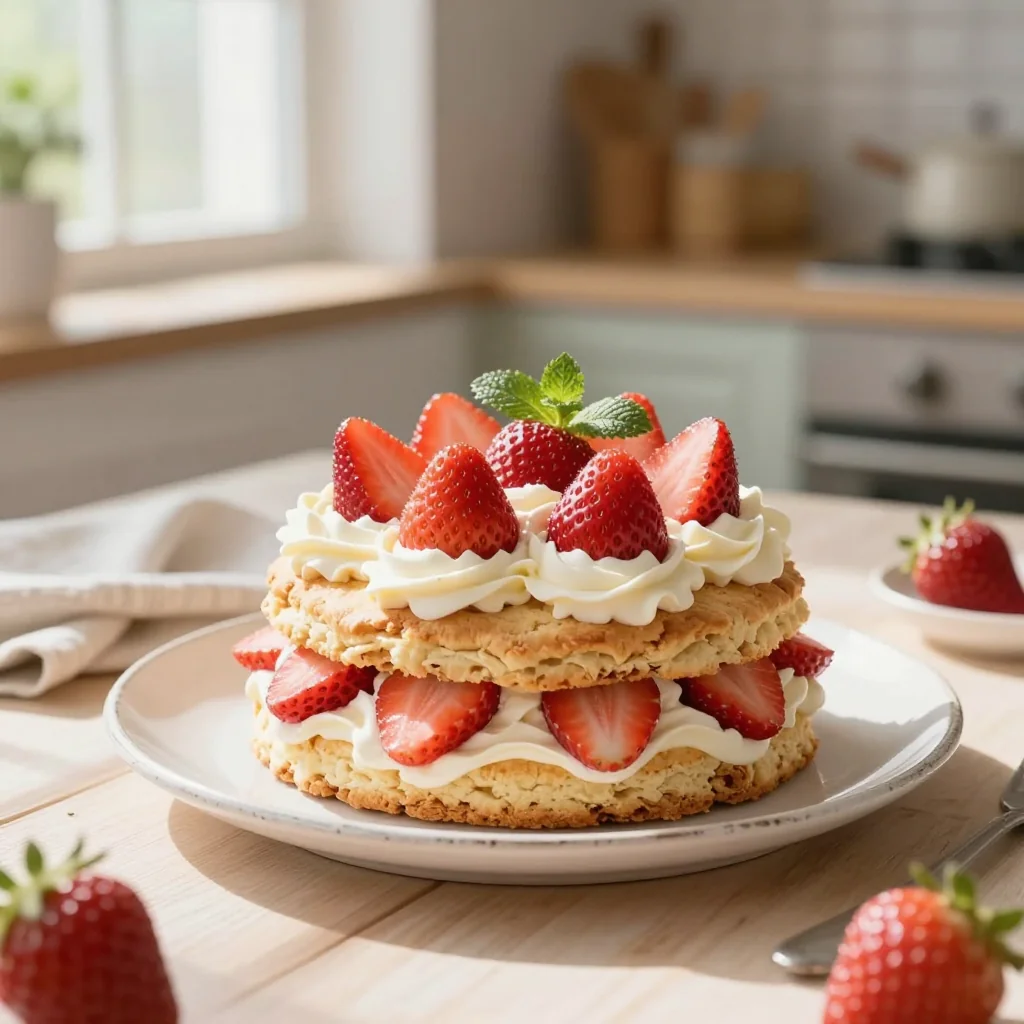
A timeless classic that layers fluffy biscuits, sweet strawberries, and airy whipped cream for an unforgettable dessert.
The first time I tasted a strawberry shortcake, I was a child perched on my grandmother's kitchen stool, watching her deftly roll out the biscuit dough. The scent of butter and fresh strawberries filled the air, and I remember how the sweet, slightly tart berries seemed to dance on my tongue, balanced by the airy, buttery biscuit that melted in my mouth. That moment sparked a lifelong love affair with this dessert, and every time I bake it, I’m transported back to that sun‑drenched afternoon.
Strawberry shortcake has its roots in the English tradition of “trifle” and “scones,” but the American version we know today blossomed in the early 20th century, when fresh strawberries became widely available during the summer months. It’s a celebration of seasonality, a dessert that showcases the bright, ruby‑red fruit against a backdrop of tender, crumbly biscuits.
In this guide, I’ll walk you through each step of creating the perfect shortcake—from making biscuits that rise just enough, to whipping a cloud‑like cream, to coaxing the strawberries into a glossy, sweet sauce. You’ll discover why the ratios matter, how to avoid common pitfalls, and how to adapt the recipe for dietary preferences without sacrificing the classic texture.
I’m thrilled to share this beloved recipe with you, and I promise that by the end of this article you’ll have the confidence to bake a shortcake that rivals any bakery’s offering. Let’s get started!
🌟 Why This Recipe Will Win Your Heart
Strawberry shortcake is more than a dessert; it’s an experience that brings together texture, flavor, and nostalgia in every bite.
- ✨ Perfect Balance of Sweet and Tart: The natural acidity of fresh strawberries cuts through the richness of butter and cream, creating a harmonious flavor profile that delights the palate.
- ✨ Foolproof Biscuit Technique: Our step‑by‑step biscuit method guarantees a light, fluffy crumb every time, even for novice bakers.
- ✨ Customizable Layers: You can easily double the layers for a taller cake or shrink them for individual servings, making it ideal for any occasion.
- ✨ Seasonal Flexibility: While strawberries shine in summer, you can substitute with frozen berries or other fruits year‑round.
- ✨ Crowd‑Pleaser: The vibrant colors and aromatic scent make it a centerpiece at brunches, picnics, and celebrations.
- ✨ Health‑Conscious Options: Swap whole‑milk biscuits for almond flour, and use a low‑fat whipped topping for a lighter version without compromising taste.
🥗 Ingredients
📝 Complete Ingredient List
For the Biscuits:
For the Whipped Cream:
For the Strawberry Topping:
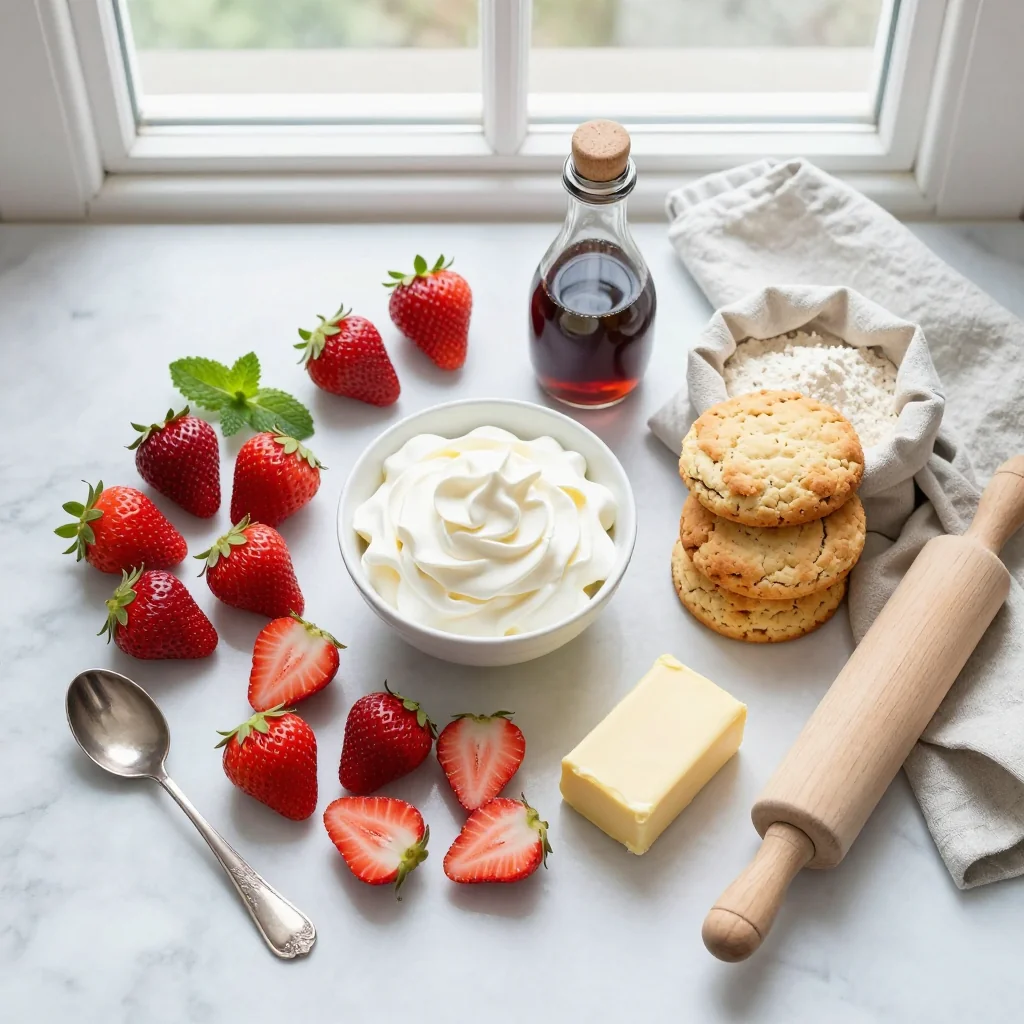
🔍 Focus on Key Ingredients
Strawberries
Strawberries are the star of this dessert. Their natural sweetness, paired with a hint of acidity, creates a perfect counterpoint to the buttery biscuits. When selecting strawberries, look for deep red berries with a glossy finish; avoid any that appear dull or have white spots, as these are signs of overripeness. For the most vibrant flavor, use berries that are at the peak of ripeness, ideally harvested within 24‑48 hours of use.
Unsalted Butter
Butter provides the tender crumb and rich flavor in the biscuit dough. Using unsalted butter allows precise control over seasoning, and the cold temperature ensures that the butter pieces remain distinct, creating steam pockets during baking that lift the biscuits. Choose a high‑quality European‑style butter for a deeper, creamier taste.
Heavy Whipping Cream
Heavy cream is essential for achieving a light, airy whipped topping. Its 36‑40% fat content traps air when beaten, resulting in a stable foam that holds its shape for hours. For a slightly sweeter version, add a touch more powdered sugar or a splash of orange liqueur for a subtle citrus note.
🔄 Quick Substitutions
| If you don’t have… | Use instead… |
|---|---|
| All‑purpose flour | Pastry flour (for a lighter biscuit) |
| Unsalted butter | Salted butter (reduce added salt by ¼ tsp) |
| Heavy cream | Coconut cream (for dairy‑free version) |
| Fresh strawberries | Frozen strawberries, thawed and drained |
👨🍳 Step‑by‑Step Instructions
Follow these detailed phases to create a flawless strawberry shortcake that looks as good as it tastes. Each phase is broken down into clear, actionable steps.
📋 Phase 1: Preparation & Mise en Place
Gather your tools, pre‑heat the oven, and prepare the strawberry sauce.
Prepare the Strawberry Sauce
In a medium saucepan, combine the sliced strawberries, granulated sugar, and lemon juice. Cook over medium heat, stirring occasionally, until the strawberries release their juices and the mixture thickens slightly, about 5‑7 minutes. Once thickened, remove from heat and let cool to room temperature. The lemon juice not only balances the sweetness but also helps the sauce set.
Pre‑heat the Oven & Prepare Baking Sheet
Pre‑heat your oven to 425°F (220°C). Line a baking sheet with parchment paper and set aside. This high temperature will give the biscuits a quick rise and a golden crust while keeping the interior tender.
🔥 Phase 2: Biscuit Mixing & Baking
Create the biscuit dough and bake to a perfect golden brown.
Mix Dry Ingredients
In a large mixing bowl, whisk together flour, sugar, baking powder, and salt until evenly combined. This ensures even leavening and prevents clumps.
Cut in the Butter
Add the cold, cubed butter to the dry mixture. Using a pastry cutter or two forks, cut the butter into the flour until the mixture resembles coarse crumbs with pea‑size pieces of butter still visible. The butter pieces will melt during baking, creating steam that lifts the biscuits.
Incorporate Milk
Make a well in the center of the dry mixture and pour in the cold milk. Gently stir with a wooden spoon until a soft dough forms. Do not over‑mix; a few streaks of flour are acceptable.
Shape and Bake
Turn the dough onto a lightly floured surface, pat it to about 1‑inch thickness. Using a 2‑inch biscuit cutter, press straight down without twisting to ensure the biscuits rise evenly. Place the cut biscuits onto the prepared sheet, spacing them 2 inches apart. Bake for 12‑15 minutes, or until the tops are golden brown.
✨ Phase 3: Assembly & Finishing Touches
Whip the cream, assemble the layers, and serve.
Whip the Cream
In a chilled mixing bowl, combine the heavy cream, powdered sugar, and vanilla extract. Beat on medium‑high speed until soft peaks form (about 2‑3 minutes). For extra stability, add a pinch of cream of tartar.
Assemble the Shortcake
Slice each biscuit horizontally. On the bottom half, spread a generous spoonful of strawberry sauce, then top with a dollop of whipped cream. Place the top biscuit half, add another layer of sauce and cream, and finish with a few fresh strawberry slices for garnish.
Serve Immediately
Serve the shortcakes while the biscuits are still warm, allowing the sauce to soak slightly into the crumb. Pair with a chilled glass of sparkling water or a light rosé for a perfect summer treat.
💡 Expert Tips & Tricks
🛒 Choosing the Right Ingredients
Opt for organic strawberries when possible; they tend to have a higher sugar content and fewer pesticides. When buying butter, select a brand that lists a minimum of 80% butterfat for a richer flavor. For flour, sift it once before measuring to avoid compacted pockets that could make the biscuit dense.
🔪 Preparation Techniques
Keep all dairy ingredients chilled until just before mixing. This prevents the butter from melting prematurely, which would result in a flat biscuit. Use a light hand when folding in the milk; a gentle “cut‑and‑fold” motion preserves air pockets.
🌡️ Mastering the Bake
Bake the biscuits on the middle rack for even heat distribution. If your oven has hot spots, rotate the sheet halfway through the bake. A light golden color on the tops indicates the perfect internal temperature (around 190°F/88°C).
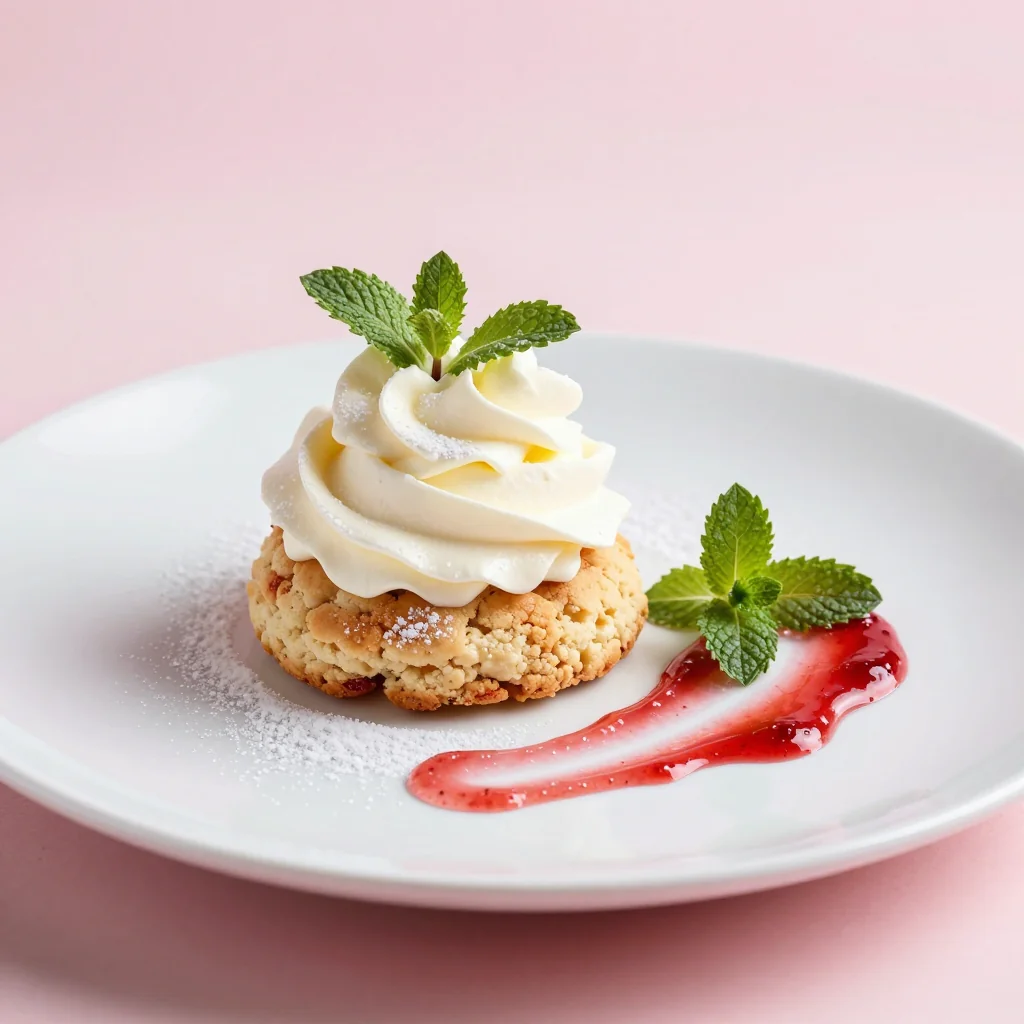
🍽️ Presentation & Service
For a polished look, dust the assembled shortcake with a fine sift of powdered sugar just before serving. Add a sprig of fresh mint for a pop of color, and arrange extra strawberry slices on the plate’s edge for visual appeal.
🏆 Pro Tips
Elevate your shortcake from home‑cooked to restaurant‑quality with these professional insights.
- 🎯 Chill the Mixing Bowl: A chilled metal bowl keeps the cream colder longer, allowing you to achieve stiffer peaks without over‑beating.
- 🎯 Use a Light‑Touch Whisk for the Sauce: This prevents the strawberries from turning into a puree, preserving their shape and texture.
- 🎯 Brush the Biscuits with Melted Butter: A quick brush after baking adds a glossy finish and a subtle buttery flavor that enhances the overall richness.
- 🎯 Layer with a Thin Film of Gelatin: Dissolve ½ teaspoon of unflavored gelatin in the strawberry sauce to set it slightly, giving a more elegant, jelly‑like consistency.
- 🎯 Freeze the Assembled Shortcake: For make‑ahead service, assemble the shortcake, wrap tightly, and freeze. Thaw in the refrigerator for 2‑3 hours before serving.
- 🎯 Finish with a Light Dusting of Edible Gold Leaf: A single fleck adds a luxurious visual cue without affecting flavor.
"Desserts are the final punctuation to a perfect meal; they should be both a celebration and a comfort." — Thomas Keller
🔄 Variations & Adaptations
This classic shortcake is a versatile canvas. Below are several creative twists you can try to match dietary needs or flavor cravings.
🥬 Vegetarian / Vegan Version
Replace the butter with a plant‑based alternative such as vegan butter or coconut oil. Use coconut cream in place of heavy cream, sweetened with maple syrup. The result is a dairy‑free shortcake that retains its buttery crumb and airy topping.
- Vegan butter (same amount as dairy butter) – ensures the biscuit stays flaky.
- Coconut cream (same volume as heavy cream) – provides a rich, tropical flavor.
🌶️ Flavor Variations
Play with the flavor profile by adding complementary ingredients that enhance or contrast the strawberries.
Spicy Version
Add a pinch of cayenne pepper to the strawberry sauce for a subtle heat that highlights the fruit’s natural sweetness.
Mediterranean Version
Incorporate a drizzle of honey‑infused olive oil over the strawberries and sprinkle toasted pistachios for a nutty crunch.
Asian‑Inspired Version
Mix a splash of yuzu juice into the strawberry sauce and garnish with toasted sesame seeds for an exotic twist.
⚠️ Dietary Adaptations
Gluten‑Free
Substitute all‑purpose flour with a 1:1 gluten‑free blend, and add a tablespoon of xanthan gum to mimic gluten’s elasticity.
Lactose‑Free
Use lactose‑free butter and lactose‑free cream alternatives; the texture remains unchanged while avoiding dairy.
Low‑Calorie
Reduce the sugar in the strawberry sauce by half and replace half the heavy cream with Greek yogurt, cutting calories while maintaining creaminess.
👶 Kid‑Friendly Version
For younger palates, add a swirl of chocolate ganache between the layers, or incorporate mini marshmallows into the whipped topping. Keep the strawberries cut into bite‑size pieces for easy eating.
📦 Storage & Reheating
🧊 Conservation
Refrigerator
- Duration: Up to 2 days
- Container: Airtight glass or plastic container
- Tip: Store the assembled shortcake with a thin layer of plastic wrap directly on the surface to prevent the cream from absorbing fridge odors.
Freezer
- Duration: Up to 1 month
- Method: Wrap the fully assembled shortcake tightly in cling film, then place in a freezer‑safe bag.
- Defrosting: Transfer to the refrigerator overnight, then let sit at room temperature for 30 minutes before serving.
💡 Note: The biscuits may lose some crispness after freezing; re‑bake for 5 minutes at 350°F (175°C) to restore texture.
♨️ Reheating
Oven (Recommended)
- Preheat to 325°F (165°C).
- Cover the shortcake loosely with aluminum foil.
- Heat for 10‑12 minutes.
- Remove foil and let the top crisp for an additional 2‑3 minutes.
Microwave (Quick)
- Place on a microwave‑safe plate.
- Cover with a microwave‑safe lid or parchment.
- Heat on medium power for 45‑60 seconds.
- Check and stir the whipped cream if needed.
Stovetop
Gently reheat the strawberry sauce in a small saucepan over low heat, stirring constantly. This method preserves the sauce’s bright flavor without over‑cooking the berries.
🍷 Perfect Pairings
🥗 Side Dishes
- Mixed Greens with Citrus Vinaigrette: A light, tangy salad balances the richness of the shortcake.
- Fresh Berry Compote: Adds an extra burst of fruitiness without overwhelming the palate.
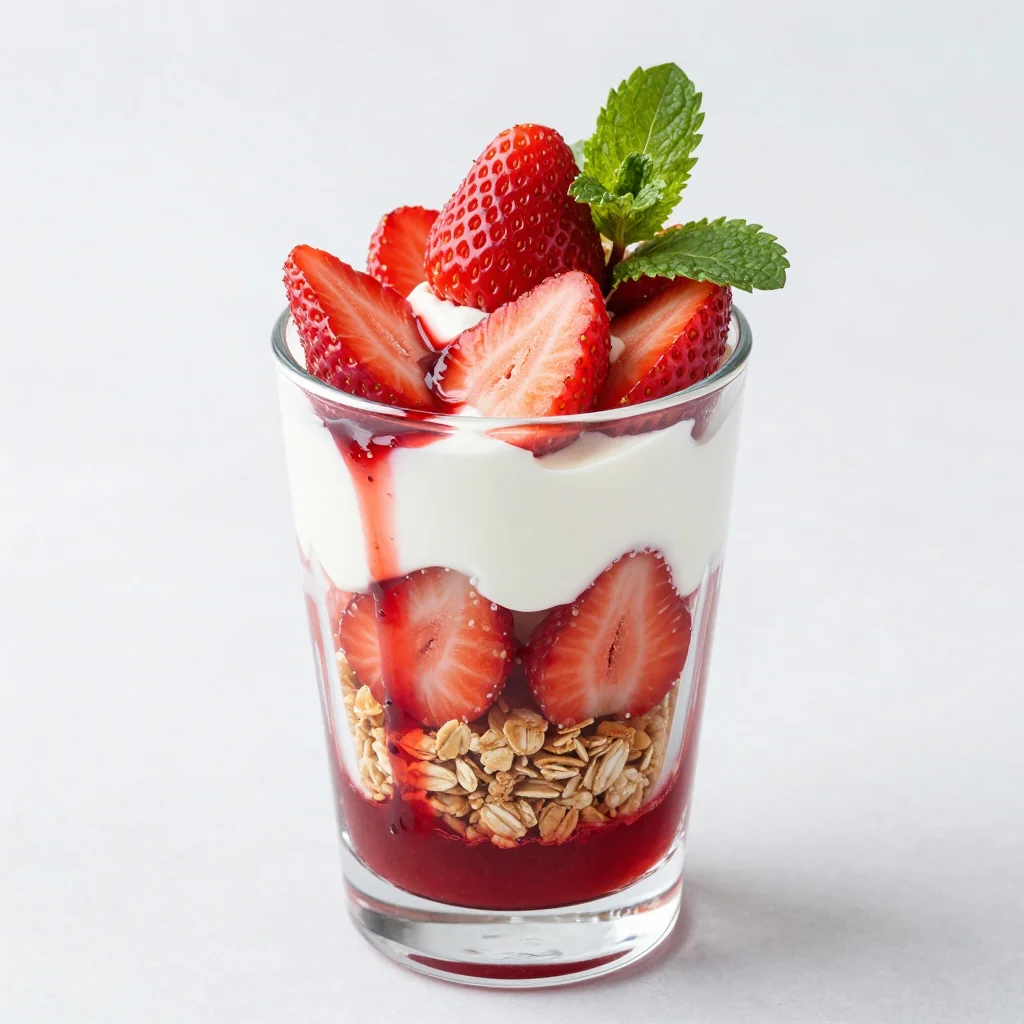
- Lightly Sweetened Yogurt Parfait: Offers a creamy contrast and a touch of acidity.
🍷 Wine & Beverage Pairings
- Prosecco: Its crisp bubbles cleanse the palate between bites.
- Riesling (off‑dry): The subtle sweetness mirrors the strawberry sauce.
- Non‑Alcoholic: Sparkling Elderflower Water – fragrant, slightly floral, and refreshing.
🍰 Complementary Courses
Begin with a delicate cucumber‑mint gazpacho, then move to the shortcake, and finish with a light lemon sorbet. This progression keeps the meal airy and avoids palate fatigue.
❓ Frequently Asked Questions
Q: Can I make the biscuits ahead of time and store them?
Absolutely. Bake the biscuits a day in advance, let them cool completely, then store them in an airtight container. Re‑heat briefly in a 350°F oven for 5‑7 minutes before assembling to restore freshness.
Q: What if I don’t have a biscuit cutter?
Use a regular drinking glass with a smooth rim, or cut the dough into squares with a sharp knife. The shape does not affect texture; only the size matters for even baking.
Q: How do I prevent the strawberries from turning mushy?
Cook the strawberries just until the sugar dissolves and the mixture thickens; avoid a prolonged simmer. Adding a splash of lemon juice helps set the pectin, keeping the fruit pieces firm.
Q: My biscuits turned out dense. What went wrong?
Over‑mixing the dough or using warm butter can cause dense biscuits. Ensure the butter stays cold, and mix only until the flour is just incorporated. Also, verify your oven temperature with an oven thermometer; too low a temperature prevents proper rise.
Q: Can I substitute honey for sugar in the strawberry sauce?
Yes, replace each cup of sugar with ¾ cup honey. Reduce the liquid by 2‑3 tablespoons to compensate for honey’s moisture, and add a pinch of salt to balance the sweetness.
Q: How long can I keep the whipped cream on the shortcake?
Whipped cream is best served within 2‑3 hours of preparation. Beyond that, it may start to weep. If you need to hold it longer, store the whipped cream in the refrigerator and re‑whip briefly before serving.
🎉 Let’s Get Cooking!
Strawberry shortcake is a timeless dessert that brings together the bright, juicy flavor of fresh berries with the comforting, buttery crumb of homemade biscuits. By following the detailed steps, you’ll create a show‑stopping dessert that’s perfect for brunches, celebrations, or a simple weekend treat. The layered texture, aromatic vanilla, and glossy strawberry sauce all work together to deliver a memorable experience.
I can’t wait to see how your shortcakes turn out! Share your photos, tell us about any twists you tried, and let the community know how you made this classic your own.
Have you tried this recipe?
Leave a comment and rating below! Share your creations on Instagram with #ShortcakeJoy for a chance to be featured.
Strawberry Shortcake with Homemade Biscuits
A classic dessert layered with buttery biscuits, sweet strawberries, and airy whipped cream.
📝 Ingredients
Biscuits
Whipped Cream
Strawberry Topping
👨🍳 Instructions
- Step 1: Prepare the strawberry sauce by simmering strawberries, sugar, and lemon juice until glossy.
- Step 2: Pre‑heat oven to 425°F (220°C) and line a baking sheet.
- Step 3: Whisk together flour, sugar, baking powder, and salt.
- Step 4: Cut cold butter into the dry mixture until coarse crumbs form.
- Step 5: Stir in cold milk just until a soft dough forms.
- Step 6: Pat dough to 1‑inch thickness, cut biscuits, and bake 12‑15 min.
- Step 7: Whip the heavy cream with powdered sugar and vanilla until stiff peaks form.
- Step 8: Assemble by layering biscuits, strawberry sauce, and whipped cream.
- Step 9: Garnish with fresh strawberry slices and a dusting of powdered sugar.
- Step 10: Serve immediately or store as directed.
🥗 Nutritional Information (per serving)
*Nutritional values are approximate and based on standard ingredient measurements.


💬 Comments & Reviews
Leave a Comment
No comments yet. Be the first to share your experience!