I remember the night I tried to make a simple chicken dinner for my roommate and ended up with a kitchen that looked like a war zone. The chicken was dry, the sauce was a sad, watery mess, and I was left with a half‑baked pan that smelled like burnt garlic. I stared at the ruined meal, feeling the sting of disappointment that could only be cured by a revelation: a technique that turns ordinary chicken into a melt‑in‑your‑mouth, sauce‑soaked masterpiece.
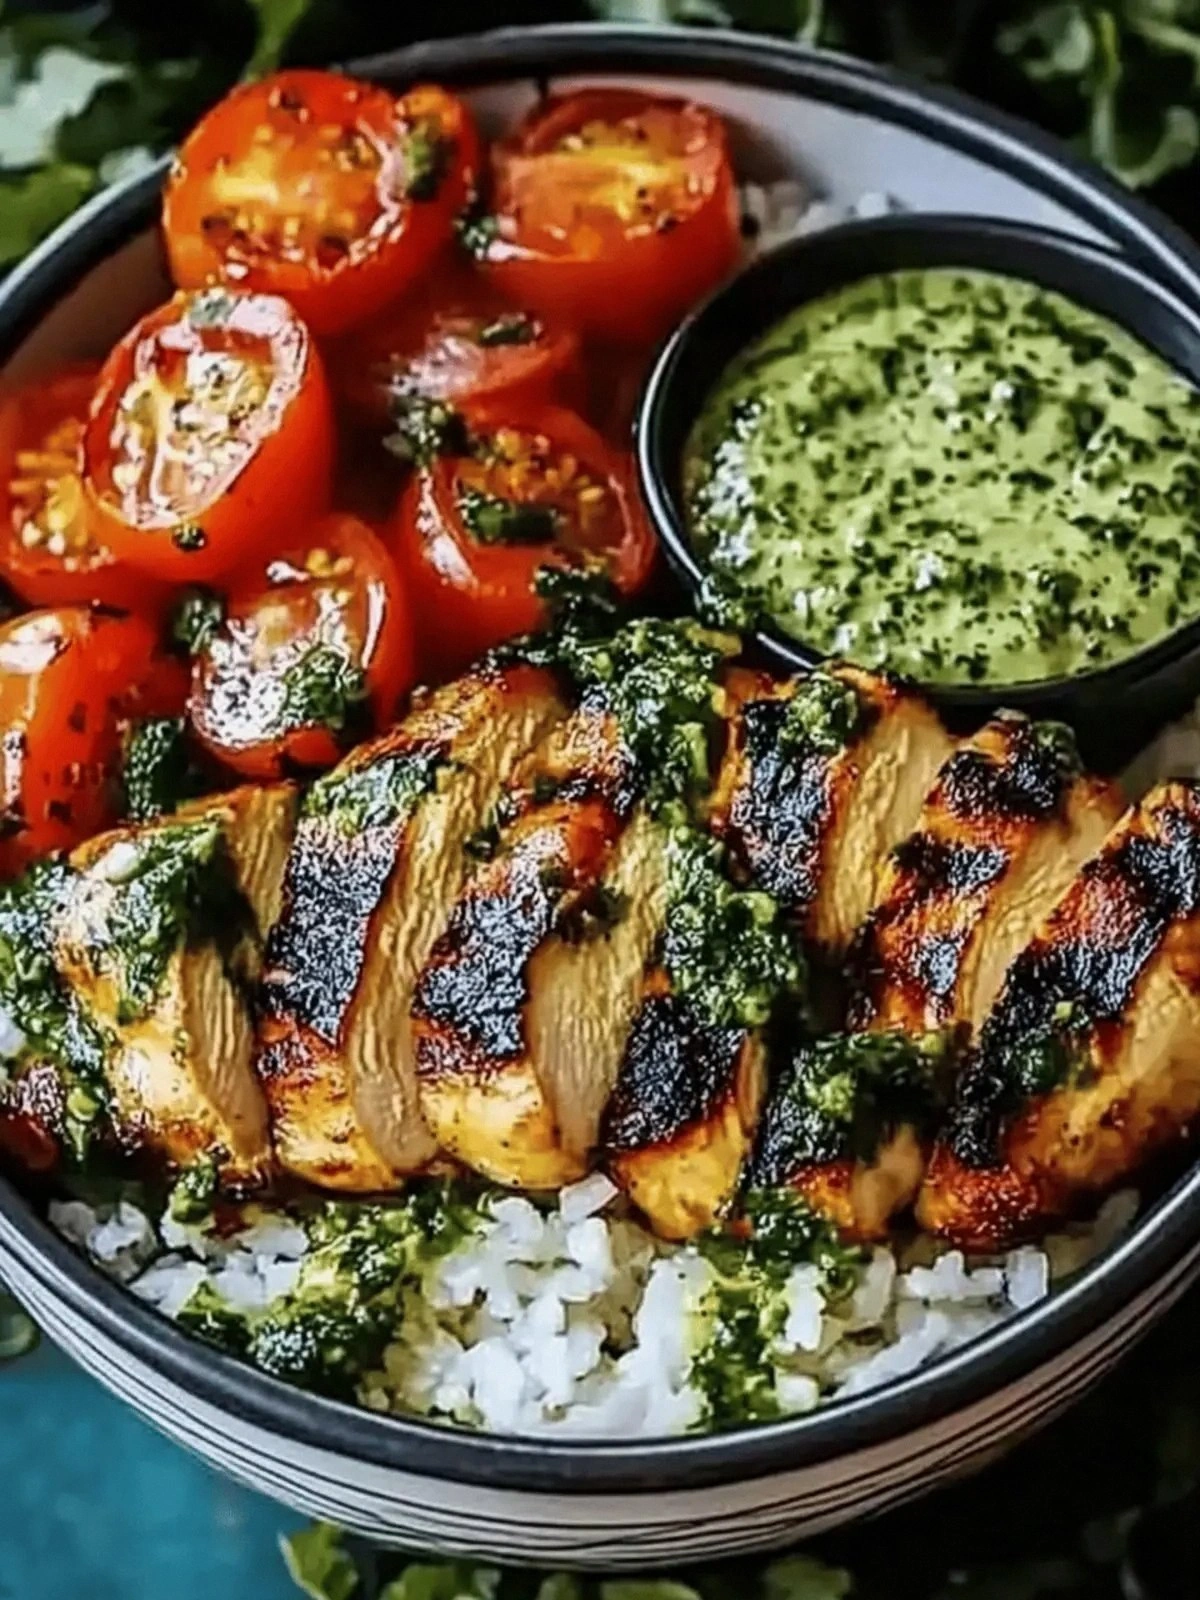
Picture this: a skillet sizzles as the chicken sears, the aroma of browned garlic and herbs filling the air, the sound of sizzling fat crackling like a tiny, delicious fire. The first bite is a burst of savory, buttery sauce that coats the meat like velvet, followed by a subtle citrus lift from lemon zest that brightens every mouthful. The texture is a contrast of a crispy, golden crust against a tender, juicy interior that practically falls apart. The sound of the first forkful is a satisfying crunch that echoes the anticipation of flavor.
What makes this version stand out is the marriage of simple, high‑quality ingredients with a precise cooking rhythm that guarantees tenderness without compromising flavor. The sauce is thickened naturally with a touch of cream, yet it remains light enough to cling to the chicken like a silky coat. The seasoning is balanced so that no single element overpowers the others—every bite feels harmonious. And, most importantly, the technique ensures that the chicken stays moist even after the pan is cleared, so you can serve it with confidence.
There’s a twist you won’t see in typical recipes: a splash of lemon juice added right at the end of cooking, which brightens the sauce and keeps the chicken from drying out. I dare you to taste this and not go back for seconds. If you’re skeptical, I’ll be honest—my first attempt had me eating half the batch before anyone else could try it. But once the technique clicked, the results were hands down the best version you’ll ever make at home.
Alright, let’s break down exactly what goes into this masterpiece. Stay with me here—this is worth it. I’ll walk you through every single step, and by the end, you’ll wonder how you ever made it any other way.
What Makes This Version Stand Out
- Flavor Depth: The sauce layers garlic, thyme, and lemon, creating a complex flavor profile that feels both comforting and fresh. Each ingredient is introduced at the right moment, ensuring maximum extraction of taste.
- Texture Contrast: A crisp, golden crust meets a melt‑in‑your‑mouth interior. The searing technique locks in juices, while the finishing step with butter and lemon adds a silky sheen.
- Ingredient Quality: Fresh, high‑quality chicken and real butter are the backbone of this dish. The use of real herbs over dried ones elevates the aroma and flavor.
- Time Efficiency: The entire process takes less than an hour, making it ideal for busy weeknights while still delivering restaurant‑level taste.
- Make‑Ahead Friendly: The dish can be prepared ahead of time and reheated without losing its juicy character. A quick splash of water restores moisture.
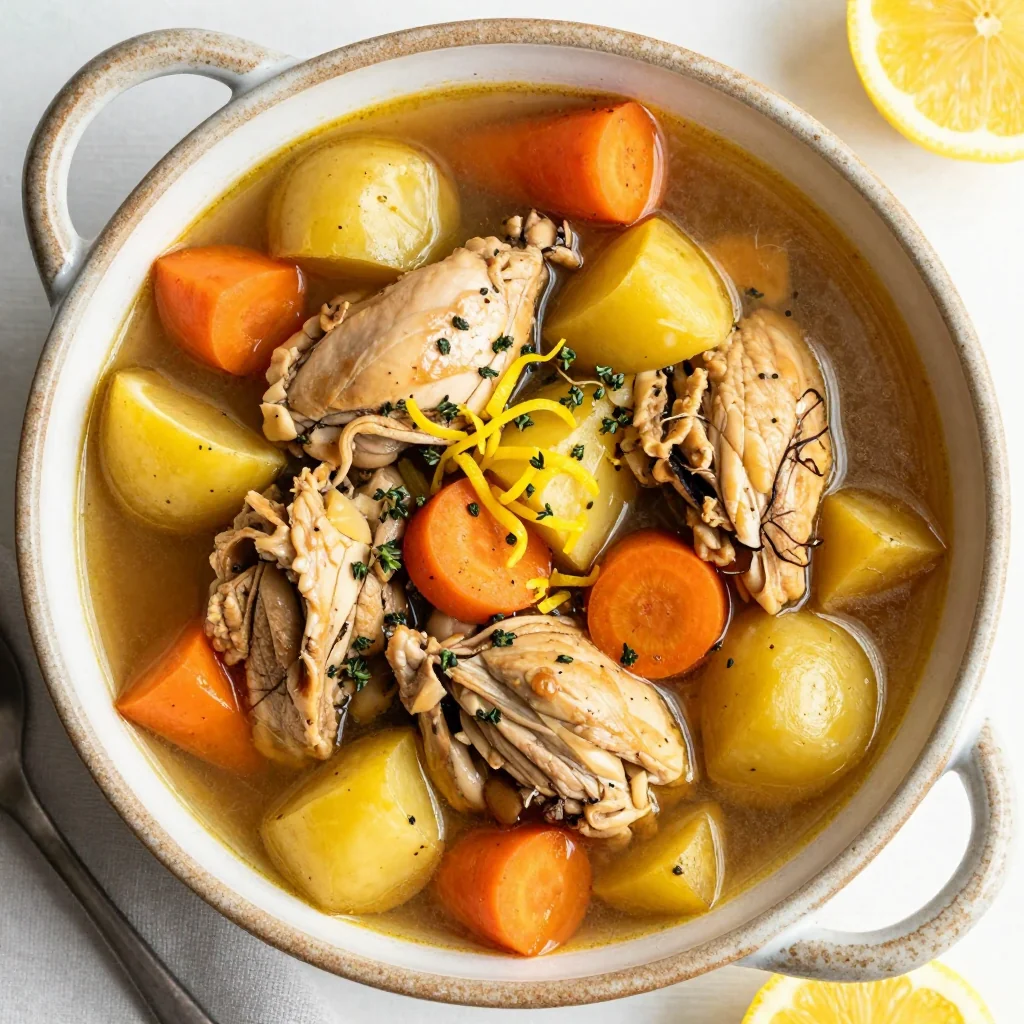
- Versatility: The base sauce can be paired with pasta, rice, or roasted vegetables, turning it into a complete meal or a side.
Inside the Ingredient List
The Flavor Base
The foundation of the sauce starts with a generous splash of olive oil that creates a silky medium for the garlic to bloom. Fresh garlic, minced finely, releases a potent aroma that permeates the dish. Adding a pinch of sea salt at this stage ensures the flavors are balanced from the get-go. If you skip the salt, the dish will taste flat and uninspiring.
The Texture Crew
Unsalted butter, melted and whisked into the pan, adds a buttery richness that coats the chicken. The chicken itself should be boneless, skinless breasts, about 6‑8 oz each, to guarantee a juicy interior. A splash of heavy cream thickens the sauce naturally, giving it a silky mouthfeel without making it heavy. If you prefer a lighter version, replace the cream with half‑and‑half or a splash of milk, but the sauce will be slightly thinner.
The Unexpected Star
Lemon zest, grated just before the dish finishes, brings a bright, citrusy note that cuts through the richness. Lemon juice, added at the very end, brightens the sauce and prevents the chicken from drying out. Without the citrus, the sauce would feel heavy and the chicken could become dry. The zest’s essential oils add a layer of complexity that elevates the entire dish.
The Final Flourish
Fresh herbs—thyme, oregano, and a sprinkle of parsley—are the finishing touch. They provide a fresh, green contrast to the buttery sauce. The herbs are added in two stages: thyme and oregano during the sauce’s simmer, and parsley at the end for a burst of color and flavor. If you’re allergic to certain herbs, feel free to omit or replace them with basil or rosemary, but the overall balance will shift slightly.
Everything's prepped? Good. Let's get into the real action...
The Method — Step by Step
- Pat the chicken breasts dry with paper towels. This step is crucial because excess moisture will prevent a proper sear. Season both sides generously with sea salt and freshly ground black pepper. Let the chicken rest for 5 minutes; this allows the seasoning to penetrate the meat.
- Heat a large skillet over medium‑high heat and add 2 Tbsp olive oil. Once the oil shimmers, slide the chicken into the pan, breast side down. Let it cook undisturbed for 4–5 minutes until a golden crust forms. Flip the chicken and cook for another 3–4 minutes. The goal is a beautiful brown edge that locks in juices.
- Remove the chicken from the skillet and set aside on a plate. This pause allows the juices to redistribute, keeping the meat moist. The pan will now be ready for the sauce.
- Lower the heat to medium and add 2 Tbsp unsalted butter. Once melted, toss in 4 minced garlic cloves. Sauté until fragrant—about 30 seconds—watching carefully so the garlic doesn’t burn. The aroma will fill the kitchen like a savory perfume.
- Stir in 1 cup chicken broth and bring to a gentle simmer. The broth will loosen the browned bits from the skillet, creating a rich base for the sauce. Let it reduce by half, which should take about 3 minutes. The liquid will thicken slightly, concentrating flavor.
- Whisk in 1 cup heavy cream, then stir in 1 tsp smoked paprika. The paprika gives a subtle smokiness that complements the garlic. Allow the sauce to simmer for 2 minutes, letting it thicken to a velvety consistency.
- Return the chicken breasts to the skillet, nestling them into the sauce. Spoon some sauce over each piece. Reduce the heat to low and cover the pan. Let it cook for another 5 minutes, allowing the chicken to absorb the flavors while staying juicy.
- Watch Out: Be careful not to over‑cook the chicken. The internal temperature should reach 165 °F (74 °C). Over‑cooking will cause the meat to become rubbery and dry.
- Remove the lid, stir in 1 Tbsp lemon zest, and finish with 1 Tbsp lemon juice. The citrus brightens the sauce and balances the richness. Let the sauce simmer for another minute, just enough to meld the flavors.
- Garnish with 2 Tbsp chopped parsley and 1 Tbsp chopped basil. The herbs add a fresh, green contrast that elevates the dish visually and taste-wise. Plate the chicken on a warm dish, spooning the sauce over each piece.
That’s it — you did it. But hold on, I’ve got a few more tricks that’ll take this to another level. Let’s dive into insider tips that will make you a kitchen wizard.
Insider Tricks for Flawless Results
The Temperature Rule Nobody Follows
Many cooks rely on timers rather than temperature. Using a digital meat thermometer ensures the chicken hits 165 °F without over‑cooking. If you’re using a non‑thermometer approach, feel the thickest part of the breast; it should feel firm but still give slightly under pressure. A good thermometer is a small investment that pays off in consistent results.
Why Your Nose Knows Best
Before you add the lemon zest, inhale deeply. The citrus aroma will tell you if the sauce is ready for the final brightening. A sharp, zesty scent means the sauce is balanced; a dull, flat smell indicates you need more seasoning. Trust your nose; it’s the most reliable flavor gauge.
The 5‑Minute Rest That Changes Everything
After removing the chicken from the skillet, let it rest for exactly 5 minutes. This pause allows the juices to redistribute, ensuring each bite is as juicy as possible. A common mistake is cutting into the chicken immediately, which leads to dry, uneven bites.
Butter‑Basting for Extra Juiciness
During the final 2 minutes of cooking, spoon a tablespoon of melted butter over the chicken repeatedly. The butter adds flavor and keeps the surface moist. If you’re avoiding dairy, substitute with a small amount of olive oil or a drizzle of high‑smoke‑point oil.
Use Fresh Herbs for a Vibrant Finish
Fresh herbs release more aroma than dried ones. If you’re in a pinch, replace basil with oregano or thyme, but the final flavor will shift. Keep the herbs on hand for future dishes to elevate even the simplest meals.
Creative Twists and Variations
This recipe is a playground. Here are some of my favorite ways to switch things up:
Spicy Sriracha Kick
Add 1 Tbsp sriracha to the sauce during the simmer. The heat pairs beautifully with the buttery base, creating a smoky, spicy profile that’s perfect for adventurous palates.
Creamy Mushroom Fusion
Sauté sliced mushrooms with the garlic before adding broth. The earthy flavor of mushrooms complements the richness of the sauce, turning the dish into a hearty comfort meal.
Mediterranean Twist
Replace the lemon with a splash of white wine and add Kalamata olives, sun‑dried tomatoes, and oregano. The Mediterranean herbs give the dish a bright, briny character that’s irresistible.
Asian‑Inspired Glaze
Swap the cream for coconut milk and add a teaspoon of soy sauce and a pinch of sesame oil. Finish with a sprinkle of toasted sesame seeds for a nutty crunch that transports the dish to the streets of Bangkok.
Herb‑Infused Parmesan Crust
Mix 1/4 cup panko breadcrumbs with 1/4 cup grated Parmesan and 1 Tbsp chopped parsley. Sprinkle over the chicken before the final 5 minutes of cooking for a crunchy, cheesy crust that adds texture and flavor.
Storing and Bringing It Back to Life
Fridge Storage
Cool the dish completely before transferring to an airtight container. Store in the refrigerator for up to 3 days. The sauce may thicken slightly; a splash of milk or cream can revive its silky texture.
Freezer Friendly
Place the cooled dish in a freezer‑safe container or zip‑lock bag. Freeze for up to 2 months. Thaw overnight in the refrigerator before reheating to preserve moisture.
Best Reheating Method
Reheat gently on low heat, stirring occasionally. Add a tiny splash of water or broth before reheating; this steams the chicken back to perfection and prevents the sauce from drying out. A quick 5‑minute warm-up in a skillet is all you need.