I once tried to bake a batch of sugar cookies for a birthday party, only to end up with a tray that looked like a sad, crumbly pancake. The butter melted too fast, the almond flour turned into a gritty paste, and the whole thing collapsed faster than my resolve at a dessert buffet. I swear I heard the oven sigh in disappointment. That disaster sparked a midnight obsession: I was determined to create the ultimate sugar cookie bar that would survive the heat, stay tender, and still taste like a sweet hug from grandma.
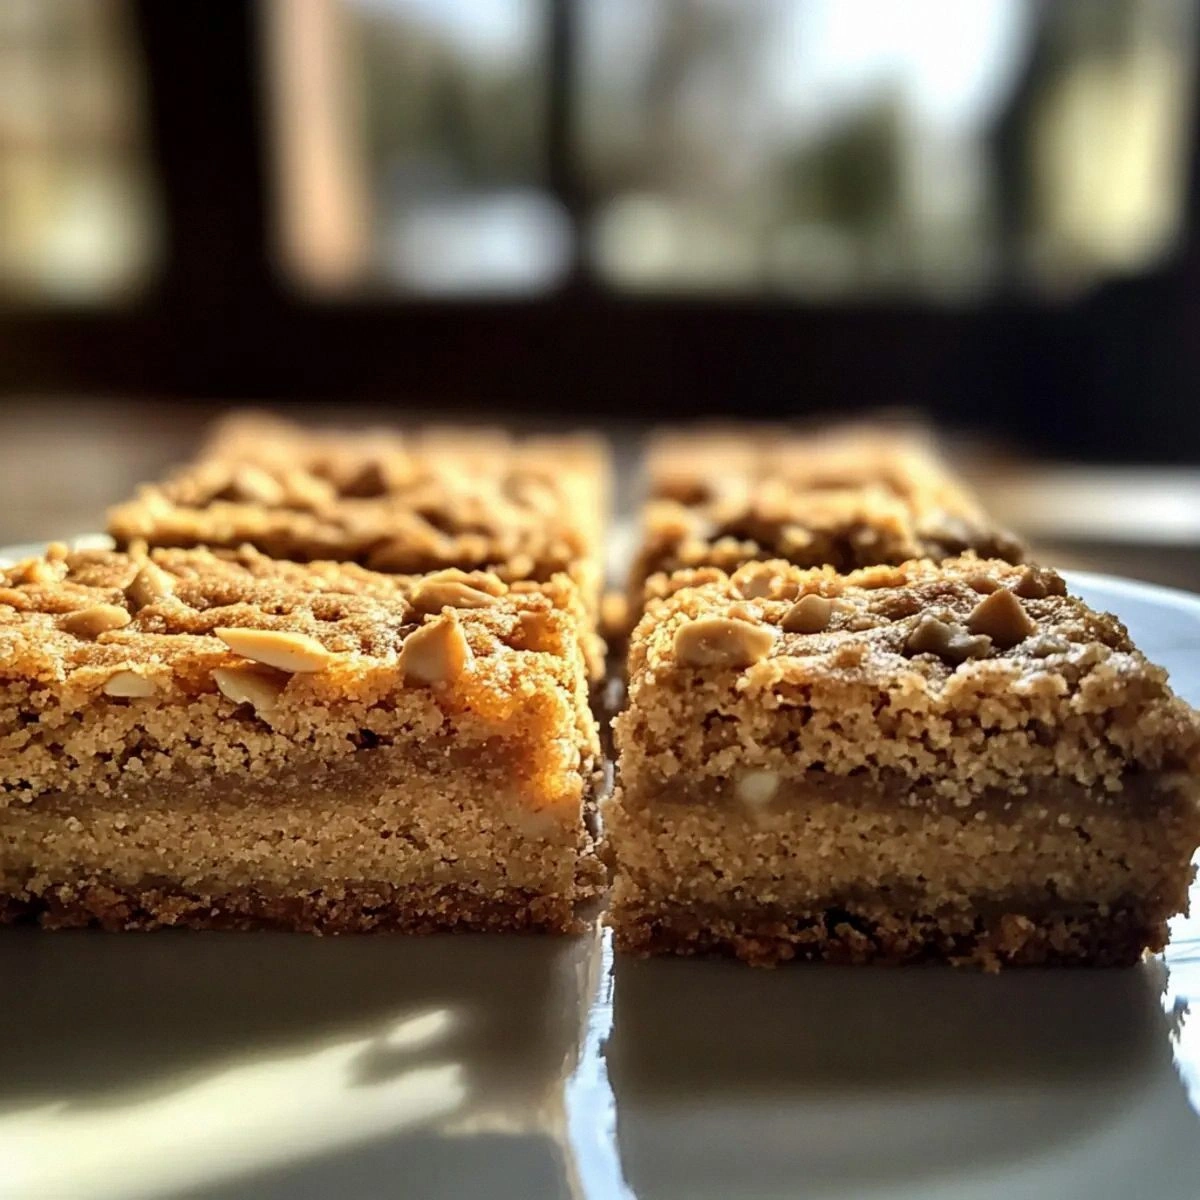
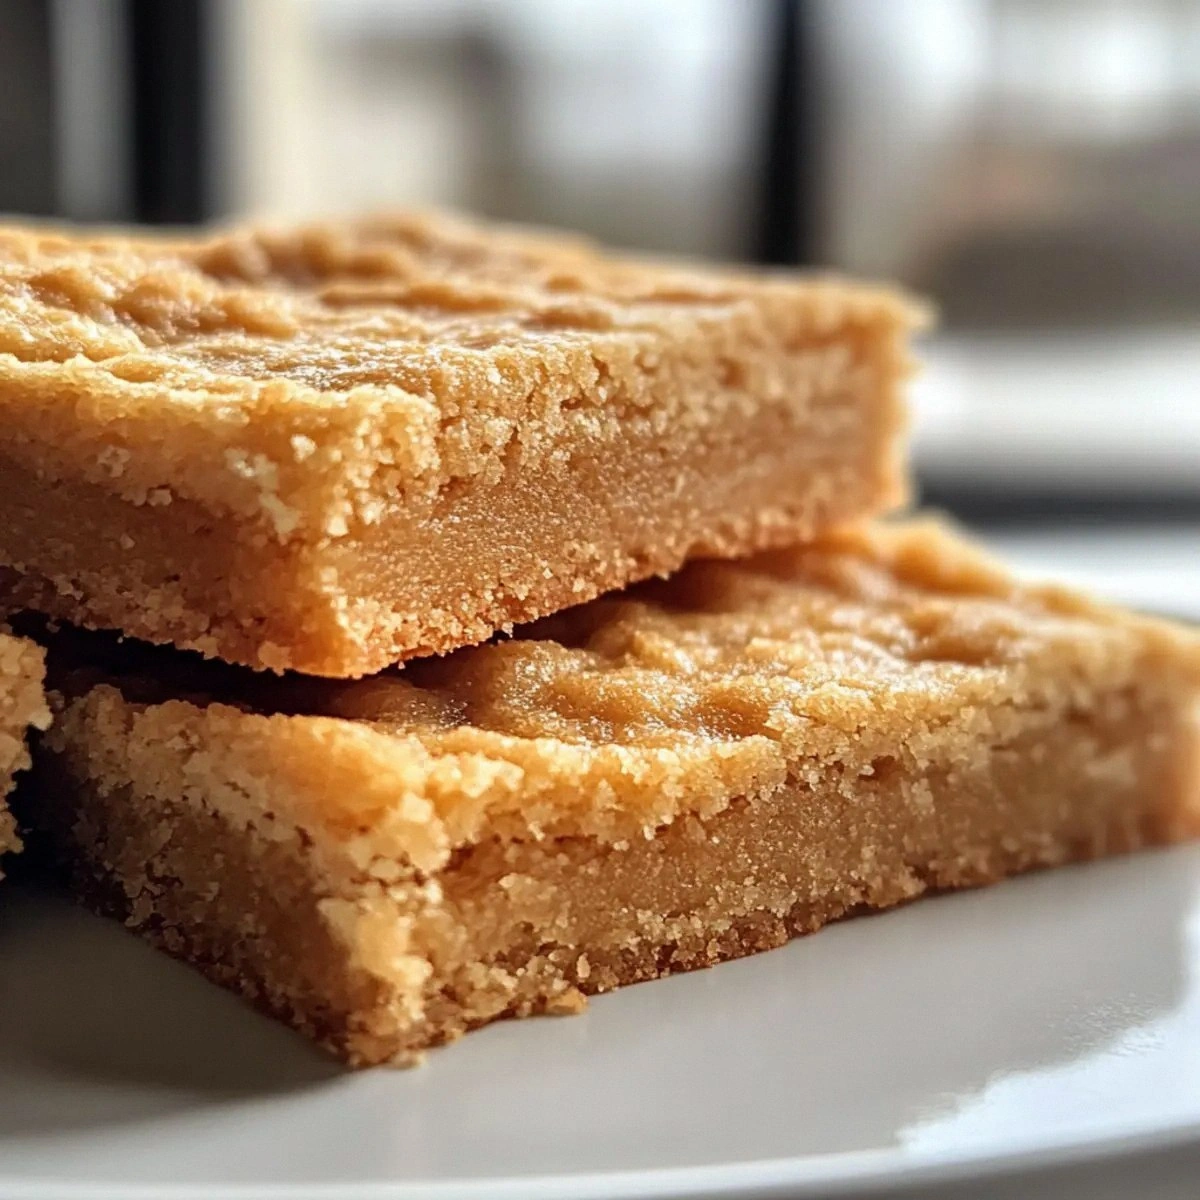
Fast forward a few weeks of trial and error, and I finally nailed it. Imagine a buttery, golden‑brown edge that cracks just enough to reveal a soft, melt‑in‑your‑mouth center, all sweetened with a low‑calorie monk fruit blend that doesn’t leave any aftertaste. The aroma that fills the kitchen is a sweet, nutty perfume that makes your nose do a happy dance, and the first bite? It’s a perfect balance of crisp and chewy, like a well‑orchestrated symphony where every instrument knows its place. I dare you to taste this and not go back for seconds.
What makes this version truly stand out is the secret weapon: almond flour. Most cookie recipes rely on all‑purpose flour, which gives you that classic texture but also a ton of carbs. By swapping it for finely ground almond flour, you get a naturally moist crumb, a subtle nuttiness, and a protein boost that keeps you fuller longer. Most recipes get this completely wrong. Here’s what actually works: a gentle folding technique, a precise butter temperature, and a splash of vanilla that ties everything together.
I’ll be honest — I ate half the batch before anyone else got to try it, and that was the best mistake I ever made. Picture yourself pulling this out of the oven, the whole kitchen smelling incredible, the golden edges glistening like a sunrise over a calm sea. Okay, ready for the game‑changer? Let me walk you through every single step — by the end, you’ll wonder how you ever made it any other way.
What Makes This Version Stand Out
- Flavor: The almond flour adds a buttery, nutty undertone that makes the sweetener taste less like sugar and more like a caramel‑kissed dream.
- Texture: A crisp, caramelized edge meets a soft, slightly crumbly interior — the perfect contrast that shatters like thin ice when you bite.
- Simplicity: Only six ingredients, no fancy equipment, and a single bowl method that even a rookie can master.
- Uniqueness: Using monk fruit sweetener keeps the carbs low while delivering a clean, sweet finish without the bitter aftertaste.
- Crowd Reaction: Guests will swear you spent hours in the kitchen, yet the recipe takes under an hour from start to finish.
- Ingredient Quality: Almond flour is gluten‑free, high in healthy fats, and adds a natural moisture that ordinary flour can’t match.
- Cooking Method: Baking at a moderate 350°F lets the butter melt slowly, creating those coveted golden edges without burning.
- Make‑Ahead Potential: These bars keep for days in the fridge, and they even freeze beautifully for a quick snack later.
Inside the Ingredient List
The Flavor Base
Almond flour is the heart of this recipe. It’s finely milled, almost like a powder, which means it blends seamlessly with the butter, creating a dough that feels silky rather than gritty. If you skip it, you’ll end up with a dry, crumbly bar that lacks the buttery richness that makes these cookies unforgettable. For the best results, choose a brand that’s blanched and unsweetened; it ensures a neutral flavor that lets the vanilla and monk fruit shine.
The Sweet Whisper
Monk fruit sweetener is the secret behind the low‑carb profile. It’s 150‑times sweeter than sugar, so you need less of it, and it doesn’t raise blood sugar. If you don’t have monk fruit, a 1:1 erythritol blend works just as well, but avoid honey or maple syrup unless you’re okay with the extra carbs. Skipping the sweetener entirely would turn this into a savory almond biscuit — not what we’re after.
The Texture Crew
Unsalted butter, softened but not melted, coats each almond particle, creating that melt‑in‑your‑mouth texture. The eggs act as a binder, giving the bars structure without making them rubbery. Baking powder is the quiet hero that lifts the dough just enough to keep the interior tender. If you forget the baking powder, the bars will be dense and heavy, like a stale granola bar.
The Final Flourish
Vanilla extract adds a fragrant backdrop that elevates the almond flavor. A splash of vanilla is like a spotlight on a stage — it draws attention to the main performers without stealing the show. If you’re feeling adventurous, a pinch of almond extract can intensify the nuttiness, but be careful; too much can become overpowering.
Everything's prepped? Good. Let's get into the real action...
The Method — Step by Step
Preheat your oven to 350°F (175°C) and line a 9×13‑inch baking pan with parchment paper, letting the paper hang over the edges for easy removal later. This step is crucial because a hot oven ensures the butter melts evenly, creating those coveted golden edges. While the oven heats, take a moment to appreciate the quiet hum of the kitchen — it’s the soundtrack of success.
Kitchen Hack: Use a silicone spatula to lift the parchment after baking; it prevents the bars from breaking when you slice them.In a large mixing bowl, combine 2 cups of almond flour and 3/4 cup of monk fruit sweetener. Stir with a whisk until the mixture looks uniformly pale. This dry blend ensures the sweetener distributes evenly, preventing pockets of concentrated sweetness that could burn.
Add the softened 1/2 cup of unsalted butter to the dry ingredients. Using a handheld mixer on low speed, blend until the mixture resembles coarse sand with tiny butter flecks. The butter should coat the almond particles without turning into a paste; this is the moment where texture is formed.
Crack in the 2 large eggs and pour in 1 teaspoon of vanilla extract. Beat just until the dough comes together in a soft, pliable mass. Over‑mixing will develop too much gluten‑like structure, making the bars tough.
Watch Out: If the butter is too warm, the dough will spread excessively, resulting in thin, crispy edges and a soggy center.Sprinkle 1 teaspoon of baking powder over the dough and give it one final fold. The baking powder releases carbon dioxide bubbles that lift the interior just enough to keep it tender. You’ll notice the dough becoming slightly puffier, a visual cue that you’re on the right track.
Transfer the dough to the prepared pan. Using a piece of parchment or the back of a spatula, press the dough into an even layer about ½‑inch thick. The surface should be smooth, but a few small peaks are okay — they’ll become the perfect bite‑size peaks after baking.
Slide the pan into the preheated oven and bake for 25‑30 minutes. Around the 20‑minute mark, peek through the oven window; the edges should be turning a deep golden brown and start to pull away from the pan slightly. That sizzle when it hits the pan? Absolute perfection.
Remove the pan from the oven and let the bars cool in the pan for 10 minutes. Then, using the overhanging parchment, lift the whole slab onto a cutting board. Let it cool completely before slicing; this allows the interior to set and prevents crumbling.
Slice the cooled slab into bars of your desired size. I recommend a 2‑inch width for a perfect bite. Serve warm for a soft, gooey center or at room temperature for a firmer texture. And now the fun part: watch your friends’ faces light up with every bite.
Insider Tricks for Flawless Results
The Temperature Rule Nobody Follows
Always start with butter that’s softened, not melted. Take the butter out of the fridge, let it sit for 10‑15 minutes, then give it a quick whip. This ensures the butter integrates without melting, which is the difference between a chewy bar and a flat, greasy one. I once tried using melted butter straight from the microwave and learned the hard way that the dough turned into a sticky mess.
Why Your Nose Knows Best
When the edges start to turn a light amber and you smell a buttery, nutty aroma, that’s your cue that the bars are nearly done. Trust your senses over the timer; ovens can vary by up to five degrees. If you wait too long, the sugars will caramelize too much and you’ll end up with a bitter crunch.
The 5‑Minute Rest That Changes Everything
After removing the pan from the oven, let the bars rest for exactly five minutes before cutting. This short pause lets the steam redistribute, giving you a cleaner cut and a softer interior. Skipping this step is a common mistake that leads to crumbly, broken pieces.
The Double‑Check Flip
When you press the dough into the pan, give it a quick flip of the spatula to smooth the top. This extra motion eliminates air pockets that could become dry holes after baking. A friend once ignored this and ended up with a bar that had a weird hollow center — not the texture you want.
Cool‑Down Cloud
Store the bars in an airtight container with a slice of fresh apple or a damp paper towel on top. The moisture from the apple keeps the bars from drying out, while the paper towel prevents condensation from making them soggy. It’s a trick I stole from my grandma’s cookie‑preserving secrets.
Creative Twists and Variations
This recipe is a playground. Here are some of my favorite ways to switch things up:
Cocoa Crunch
Replace ¼ cup of almond flour with unsweetened cocoa powder and add a handful of dark chocolate chips. The result is a deep, chocolatey bar that still retains the almond’s buttery base. Perfect for chocolate lovers who crave a low‑sugar treat.
Citrus Zest
Stir in the zest of one lemon or orange and swap the vanilla for a teaspoon of citrus extract. The bright, aromatic notes cut through the richness and make the bars feel like a summer dessert.
Nutty Delight
Fold in ¼ cup of toasted chopped almonds or pistachios for extra crunch. The nuts add texture and a toasty flavor that pairs beautifully with the almond flour foundation.
Spiced Autumn
Add a pinch of ground cinnamon, nutmeg, and a dash of pumpkin spice. This variation is perfect for cozy evenings and pairs well with a hot cup of tea.
Berry Burst
Gently swirl in ½ cup of fresh or frozen raspberries before baking. The berries release a little juice that creates tiny pockets of tangy sweetness, balancing the overall richness.
Storing and Bringing It Back to Life
Fridge Storage
Place the bars in an airtight container and keep them in the refrigerator for up to 5 days. The cool environment preserves the almond flour’s moisture and prevents the bars from becoming stale. When you’re ready to eat, let them sit at room temperature for 10 minutes or pop them in the microwave for 15 seconds.
Freezer Friendly
Wrap individual bars in parchment, then place them in a zip‑top freezer bag. They’ll freeze solid for up to 3 months. To reheat, microwave for 20‑30 seconds or bake at 300°F for 8 minutes; the result is as fresh as day‑one.
Best Reheating Method
Add a tiny splash of water (about a teaspoon) to the bar before microwaving; the steam revitalizes the interior, making it soft again. This trick works wonders for bars that have been sitting for a day and seem a little dry.