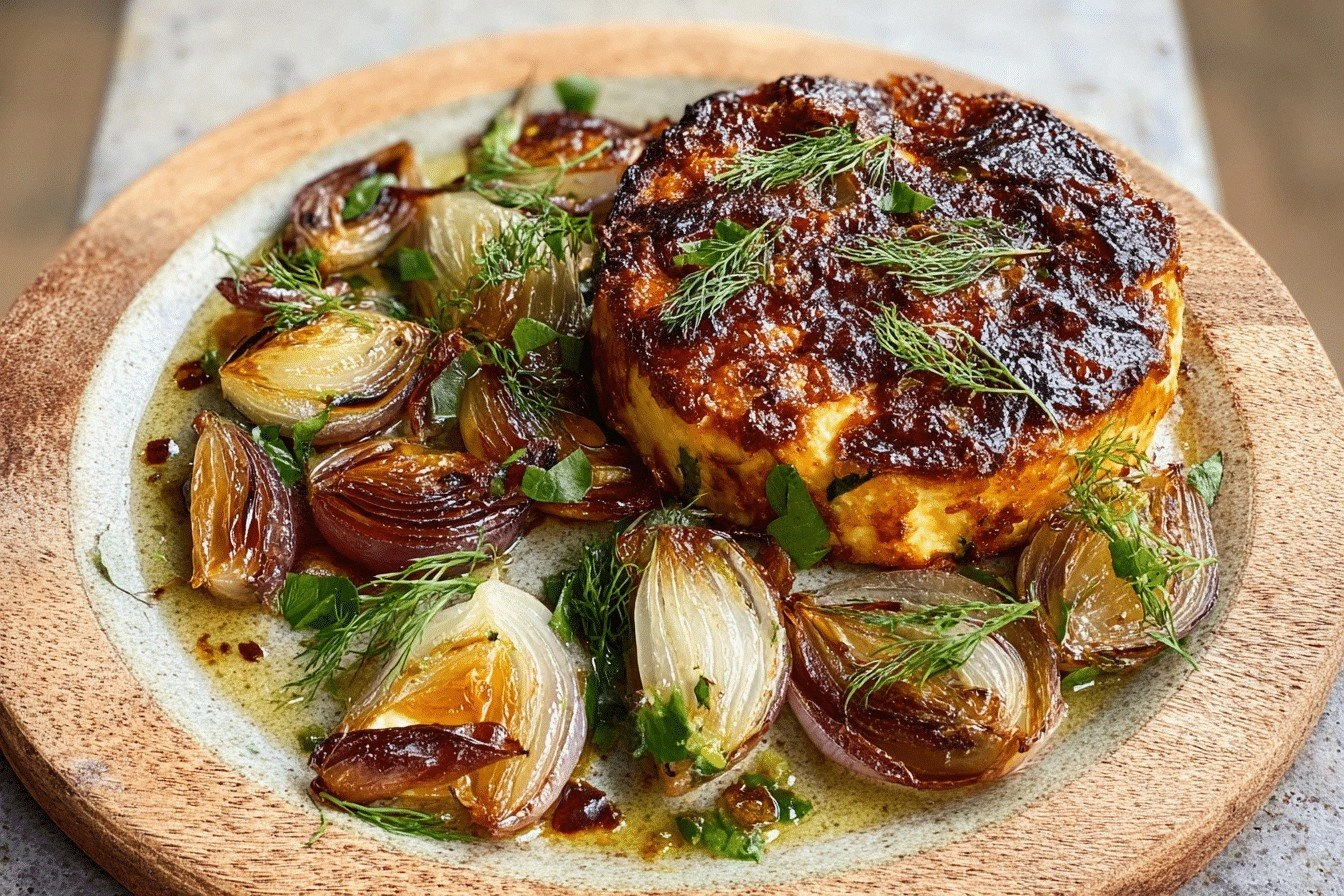
I was standing in my kitchen, surrounded by the chaotic aftermath of a failed pancake experiment that turned into a charcoal disaster, when a friend dared me to create something that would make even the most stubborn brunch skeptic swoon. The air was thick with the smell of burnt sugar, the stovetop was a war zone, and my confidence was hanging by a thread. I grabbed a handful of goat’s cheese from the fridge, a bunch of dill from the herb drawer, and a lone onion that had been patiently waiting for its moment to shine. I thought, “If I can’t salvage this pancake, maybe I can bake a scone that rescues my reputation.”
Picture this: the oven humming like a contented cat, the butter melting in a pan with a gentle sigh, and the aroma of fresh dill mingling with the sweet caramelization of onions. The kitchen suddenly feels like a cozy cabin in the woods, the kind where the fire crackles and every breath you take is filled with warmth and anticipation. My hands were trembling, not from fear but from the electric thrill of turning a mishap into a masterpiece. I could already taste that tangy goat’s cheese melting into a buttery crumb, the dill adding a bright, herbaceous pop, and the onion delivering a subtle sweetness that would make the whole thing sing.
Most recipes for savory scones either drown the delicate goat’s cheese in a sea of flour or forget the magic that a pinch of fresh dill can bring. I’ve tried a dozen versions that left me with dry, crumbly disappointments that tasted like cardboard with a hint of regret. This version, however, is a game-changer: it balances richness with lightness, tang with herb, and crunch with melt-in-your-mouth softness. I dare you to taste this and not go back for seconds, because the moment that buttery crust gives way to a creamy, cheesy interior, you’ll understand why this is hands down the best version you’ll ever make at home.
And here’s the secret weapon you won’t find in any other recipe: I’m using a technique called “cold butter folding,” where you literally cut the butter into the flour until it looks like pea-sized crumbs before adding the wet ingredients. This creates pockets of steam that lift the scones into airy perfection, while still keeping the crumb tender enough to crumble on a fork. Let me walk you through every single step — by the end, you’ll wonder how you ever made it any other way.
What Makes This Version Stand Out
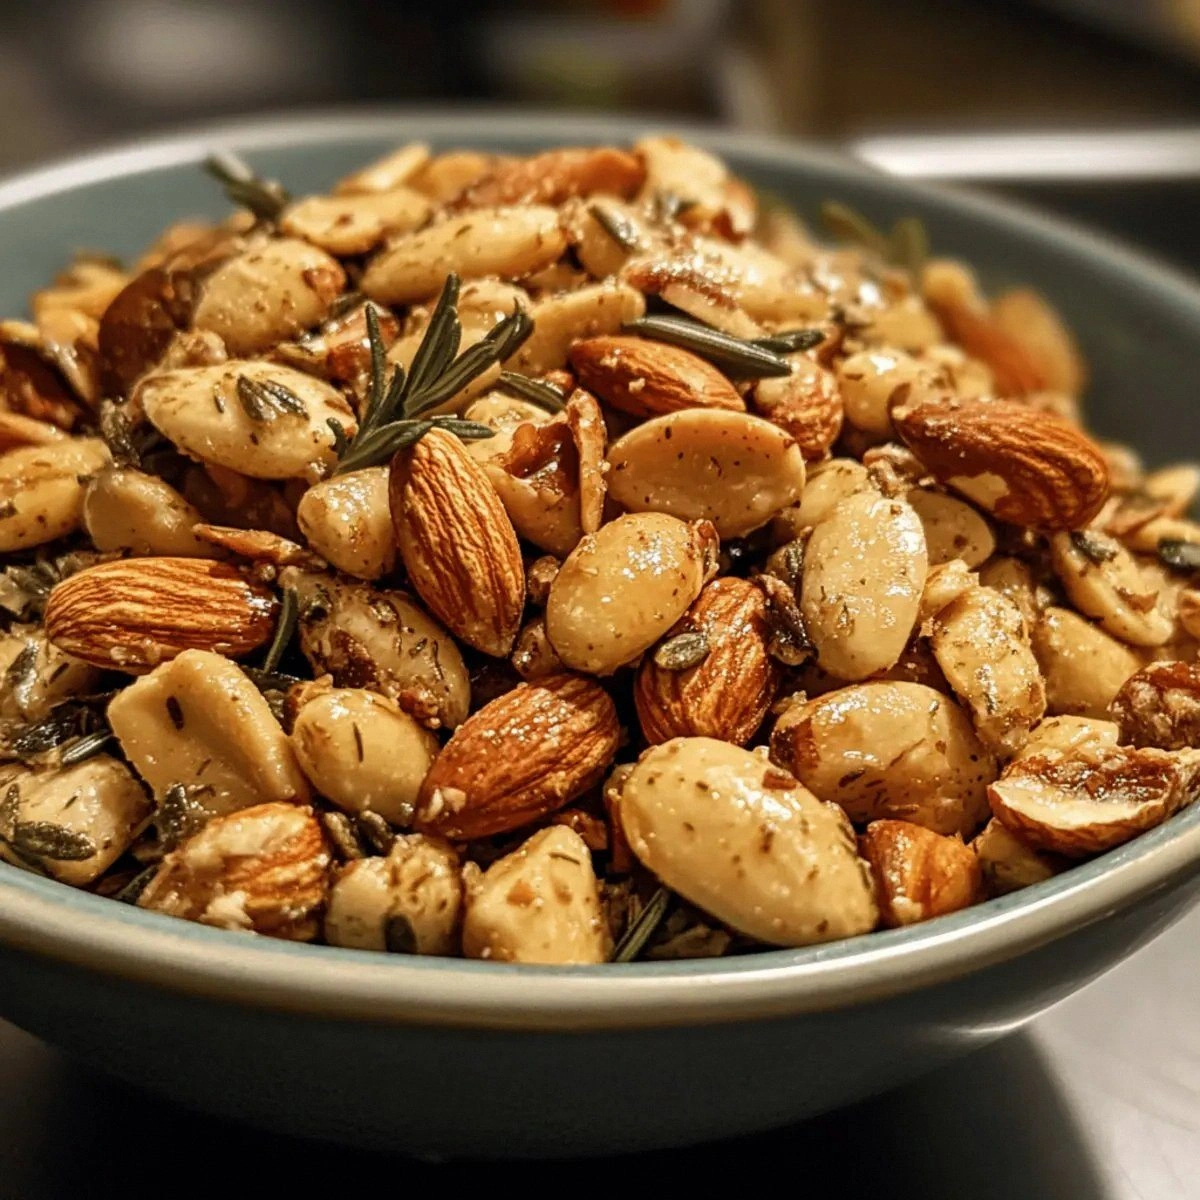
- Flavor Explosion: The tangy goat’s cheese pairs with fresh dill and sweet onion for a layered taste that dances on the palate.
- Texture Harmony: A crisp, golden exterior gives way to a tender, almost custardy interior—think of a perfect first bite that shatters like thin ice.
- Simplicity: Only eight ingredients, all pantry staples plus a couple of fresh herbs, make this a weeknight hero.
- Unique Technique: Cold butter folding creates steam pockets that lift the scones without the need for a mixer.
- Crowd Magnet: Even the most skeptical cheese-haters have confessed they’d trade a bagel for one of these.
- Ingredient Quality: Using a high‑fat goat’s cheese amplifies creaminess, while fresh dill adds a garden‑bright note.
- Cooking Method: Baking, not frying, keeps the scones light and reduces mess—perfect for a clean‑kitchen vibe.
- Make‑Ahead Potential: Freeze the baked scones and reheat for a quick, gourmet snack any time.
Inside the Ingredient List
The Flavor Base
All‑purpose flour is the silent hero, providing structure while staying neutral enough to let the goat’s cheese shine. If you swap it for whole‑wheat, you’ll get a nuttier flavor but also a denser crumb, which might mask the delicate tang of the cheese. I recommend sifting the flour twice; it aerates the mixture and prevents lumps, ensuring a light, airy texture that feels like a cloud on your tongue.
Baking powder is the leavening agent that makes the scones rise like a sunrise over a misty field. Too much, and you’ll get a metallic aftertaste; too little, and they’ll be flat as a pancake. The sweet spot is one to one‑and‑a‑half teaspoons for every two cups of flour, which creates just enough lift without compromising the crumb.
The Texture Crew
Butter is the butter‑queen of this recipe. Its fat content creates those coveted flaky layers, and when kept cold, it forms steam pockets that puff the scone from the inside out. If you’re dairy‑free, try a high‑fat coconut oil, but expect a subtle coconut undertone that will change the flavor profile.
Milk binds everything together, providing moisture and a subtle sweetness. Whole milk works best because the extra fat contributes to a richer crumb; skim milk can be used in a pinch, but the scones will be a touch drier.
The Unexpected Star
Goat’s cheese is the luminary that turns ordinary scones into a gourmet experience. Its natural tang cuts through the buttery richness, creating a beautiful contrast that’s both bright and comforting. Choose a soft, fresh goat’s cheese for the smoothest melt; aged varieties will add a sharper bite that can be delightful if you like a punchier flavor.
The Final Flourish
Fresh dill brings a garden‑fresh, slightly citrusy note that lifts the entire dish. If you can’t find fresh dill, dried dill works, but use only a third of the amount—dry herbs are concentrated and can overwhelm the delicate balance.
Onion, finely chopped, adds a sweet, caramelized depth that rounds out the tang of the cheese. I like to sauté the onion lightly before folding it in; this softens its bite and brings out a natural sweetness that pairs perfectly with the herb and cheese.
Everything's prepped? Good. Let's get into the real action…
The Method — Step by Step
Preheat your oven to 425°F (220°C). While the oven warms, line a baking sheet with parchment paper. This temperature is crucial: it creates a burst of heat that instantly sets the crust, giving you that coveted golden edge. If you’re using a convection oven, reduce the heat by 25°F to avoid over‑browning.
In a large mixing bowl, whisk together 2 cups of all‑purpose flour, 2 tsp baking powder, and 1 tsp salt. The whisk should create a light, airy cloud of flour—think of it as a mini snowstorm in a bowl. This step ensures the leavening is evenly distributed, preventing any bitter pockets.
Cut ½ cup (1 stick) of cold butter into small cubes, then toss them into the flour mixture. Using a pastry cutter or your fingertips, rub the butter into the flour until the mixture resembles coarse crumbs, about the size of peas. Cold butter is the secret—it won’t melt until it hits the oven, creating steam that lifts the scones.
Kitchen Hack: If you’re short on time, grate the butter; it will chill faster and incorporate more evenly.In a separate pan, sauté ½ cup finely chopped onion over medium heat with a drizzle of olive oil until translucent and just beginning to caramelize, about 5 minutes. This gentle cooking draws out the onion’s natural sugars, giving the scones a subtle sweetness that balances the cheese’s tang.
Combine 4 oz crumbled goat’s cheese, 2 tbsp fresh dill (chopped), the sautéed onion, and ¾ cup milk in a small bowl. Stir until the cheese is evenly distributed; the mixture should look slightly lumpy but cohesive. Don’t over‑mix—the milk will hydrate the flour later, and over‑stirring can develop gluten, making the scones tough.
Make a well in the center of the flour‑butter mixture and pour in the cheese‑onion‑milk blend. Using a rubber spatula, gently fold everything together until just combined. The dough will look shaggy and a bit sticky—that’s exactly what you want.
Turn the dough out onto a lightly floured surface. Pat it into a 1‑inch thick circle; avoid rolling with a pin, which can compress the air pockets. Using a sharp knife, cut the circle into 8 equal wedges, or use a round cutter for classic scone shapes.
Place the scones on the prepared baking sheet, leaving about 2 inches of space between each. Brush the tops lightly with a little extra milk for a glossy finish. This is the moment of truth—watch the edges start to pull away from the parchment as they bake.
Watch Out: Over‑baking will dry out the interior; pull the scones out when the tops are golden and a toothpick inserted near the center comes out clean.Bake for 12‑15 minutes, or until the tops are a deep golden‑brown and the edges are crisp. As they bake, the kitchen will fill with a scent that’s simultaneously buttery, cheesy, and herbaceous—trust me, you’ll be tempted to sample the whole tray.
Remove from the oven and let the scones cool on a wire rack for at least 5 minutes. This short rest lets the steam finish its work, keeping the interior moist while the crust stays crisp. Serve warm, or store for later—either way, you’ve just created a masterpiece.
That's it — you did it. But hold on, I've got a few more tricks that'll take this to another level…
Insider Tricks for Flawless Results
The Temperature Rule Nobody Follows
Never let your butter sit at room temperature for longer than five minutes. The colder the butter, the better the steam pockets, and the higher the oven temperature, the faster those pockets expand. I once tried a “room‑temp” shortcut and ended up with dense, cake‑like scones that were anything but airy. Keep the butter on a chilled plate until you’re ready to fold it in, and you’ll get a lift that feels like a cloud.
Why Your Nose Knows Best
When the scones are in the oven, trust your sense of smell more than the timer. The moment you catch that nutty, toasted aroma, you know the crust is forming perfectly. If you’re unsure, give them a quick visual check: the edges should be pulling away from the parchment, and the tops should have a deep, caramelized hue.
The 5‑Minute Rest That Changes Everything
After baking, let the scones rest for five minutes on a wire rack before cutting. This short pause allows the internal steam to redistribute, preventing a gummy interior. I once sliced them immediately and the crumb fell apart like a sandcastle—lesson learned: patience is a flavor enhancer.
Don’t Over‑Mix the Wet Ingredients
When you combine the milk‑cheese mixture with the flour, stop as soon as everything is just incorporated. Over‑mixing develops gluten, which turns a tender scone into a tough biscuit. Think of it like a gentle handshake, not a firm grip.
The Secret of the Final Brush
A quick brush of milk (or even a beaten egg) on the tops before baking gives the scones a glossy finish and a subtle crunch. It’s the same trick bakers use on dinner rolls to get that beautiful sheen. Skip it, and you’ll end up with a dull, matte top that looks less appetizing.
Freezing Without Losing Texture
If you want to make a big batch, freeze the baked scones on a tray first, then transfer them to a zip‑lock bag. When you’re ready to eat, reheat at 350°F for 8 minutes with a splash of water in the pan; the steam revives the crumb without making them soggy. This trick has saved countless brunches when I’m short on time.
Creative Twists and Variations
This recipe is a playground. Here are some of my favorite ways to switch things up:
Sun‑Dried Tomato & Basil
Swap the dill for a tablespoon of chopped fresh basil and fold in a quarter cup of sun‑dried tomatoes. The result is a Mediterranean‑inspired scone that pairs beautifully with a drizzle of olive oil.
Smoked Salmon & Chive
Add 2 oz of finely diced smoked salmon and replace dill with chopped chives. The salty salmon amplifies the goat’s cheese, creating a brunch‑worthy bite that feels luxurious.
Spicy Jalapeño & Cheddar
Introduce a minced jalapeño and substitute half the goat’s cheese with sharp cheddar. You’ll get a subtle heat that makes the scones perfect for a game‑day snack.
Sweet Apple & Cinnamon
For a sweet‑savory hybrid, fold in a half cup of finely diced apple and a pinch of cinnamon. The apple’s natural sweetness balances the cheese, turning the scone into a dessert‑like treat.
Herb‑Infused Olive Oil Drizzle
After baking, drizzle the warm scones with a mixture of olive oil, minced rosemary, and a splash of lemon juice. This adds a fragrant finish that elevates the scones from side dish to star.
Storing and Bringing It Back to Life
Fridge Storage
Place cooled scones in an airtight container and store them in the refrigerator for up to four days. To revive, warm them in a 350°F oven for 5‑7 minutes; the crust will crisp up again, and the interior will stay moist.
Freezer Friendly
Freeze baked scones on a parchment‑lined tray until solid, then transfer to a zip‑lock bag. They’ll keep for three months. When you’re ready to eat, pop them straight into a preheated oven at 350°F for 8‑10 minutes; add a splash of water to the pan for steam, and they’ll taste fresh‑baked.
Best Reheating Method
If you’re short on time, a quick microwave works—wrap a scone in a damp paper towel and heat for 20 seconds. For the ultimate texture, always finish with a brief stint in the oven; the brief steam revives the crumb without making it rubbery.