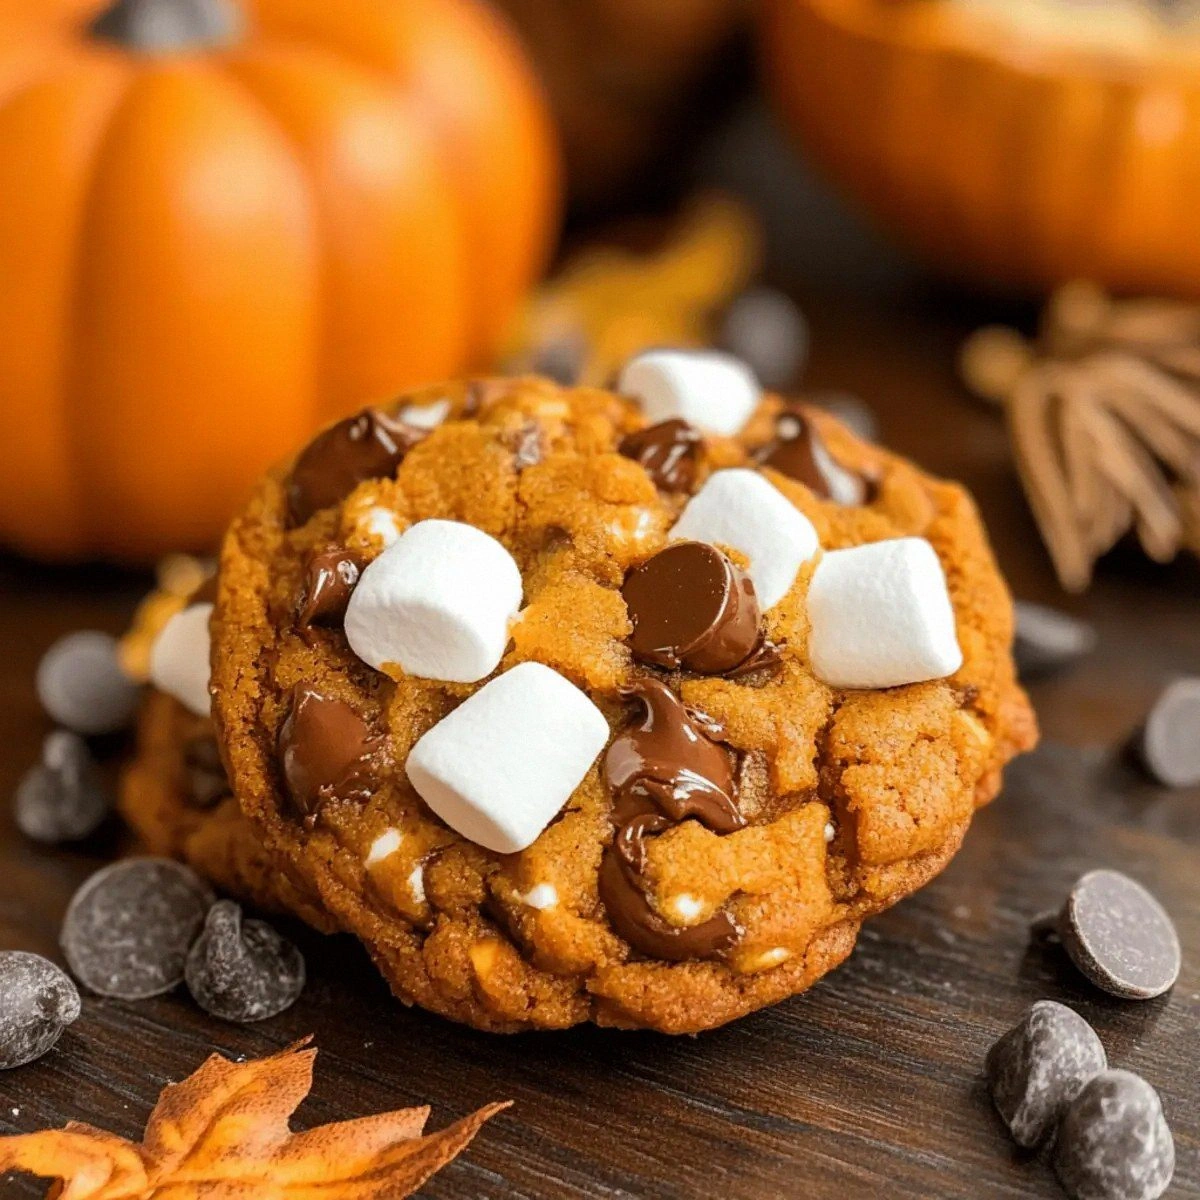
I’ll be honest — I was on a mission to create the ultimate weekend‑morning “wow” factor, and I ended up spilling a half‑dozen rolls of pancake batter onto the kitchen floor while trying to multit‑mix a batch of classic pancakes with a skillet full of sizzling bacon. The kitchen smelled like a bakery that had just been invaded by a pork butcher, and my cat started staring at the pan as if it were a sunrise. That chaotic moment sparked a light‑bulb moment: what if the fluffy, golden‑scented essence of a pancake could be baked into a muffin, while the salty‑sweet decadence of maple‑glazed bacon became the star of each bite? I dared myself to combine two beloved breakfast staples into one portable, hand‑held masterpiece, and the result turned out to be a first‑date‑date‑with‑your‑taste‑buds experience.
Picture yourself pulling a tray of these golden‑toped beauties out of the oven, the whole kitchen smelling like a maple‑scented dream with a hint of pork‑loving indulgence. The top of each muffin is a shallow crater of caramelized maple sauce that catches the light like a sunrise on a glass slab, while the interior is a fluffy, airy interior that rolls out of the muffin like a soft, buttery cloud. When you bite in, the first thing you notice is the crisp, salty‑first‑kiss of bacon that gives way to a melt‑in‑your‑mouth pancake crumb, and then—boom—the warm, buttery drizzle of maple syrup rolls over your tongue like a silk‑lined waterfall.
Most recipes try to shoe‑horn bacon into a pancake or drizzle syrup over a muffin, but they miss the golden middle where the two truly belong. This version respects each ingredient’s personality: the bacon is baked into the muffin, the syrup is folded into the batter, and the pancake base is baked to perfection, yielding a texture that is both “kiss‑the‑roof‑of‑your‑mouth” soft and “crackle‑like‑first‑snow” on the edges. I’m not kidding when I say this is the best version you’ll ever make at home, and I dare you to taste it and not go back for seconds. The secret? A simple technique that swaps the traditional stovetop pour‑pour‑pour for a gentle “mix‑then‑fold” method that guarantees a tender crumb without any gummy pockets.
Let me walk you through every single step — by the end, you’ll wonder how you ever made breakfast any other way. This isn’t just a recipe; it’s a breakfast‑the‑future, a breakfast‑time‑time‑machine that will have you looking forward to the sunrise. Okay, ready for the game‑changer? Let’s dive in.
⚡ What Makes This Version Stand Aside
- Flavor Harmony: The maple‑syrup‑infused batter and salty‑burnt‑scent of bacon create a balanced sweet‑savory dance that feels like a first kiss for your palate. Muffin‑by‑Muffin: The first bite delivers a burst of salty bacon, then rolls into the soft, buttery pancake interior, ending with a gentle drizzle of maple that lingers like a warm hug.
- Texture Contrast: The edges of each muffin crisp up just enough to give a gentle “snap” while the center stays airy, achieving a “crackle‑like‑first‑snow” top and a “cloud‑soft” interior.
- Simplicity: Despite the luxurious taste, the method uses basic pantry staples and a single bowl, so you won’t need a full‑scale kitchen army.
- Ingredient Integrity: We use pure maple syrup and thick‑cut bacon, avoiding the fake‑syrup, fake‑bacon, and artificial flavor‑bombs that ruin most “fast‑forward” versions.
- Crowd‑Reaction Guarantee: Guests will literally chase you around the kitchen for the last muffin, and you’ll earn the title “Breakfast Wizard” for the day.
- Make‑Ahead Potential: These muffins freeze beautifully, so you can bake a batch on a lazy Saturday and have breakfast ready for the entire week.
- Cooking Method: Baking instead of frying eliminates oil splatter, ensures even heat distribution, and locks in the syrup’s moisture for a moist crumb.
🍋 Inside the Ingredient List
The Flavor Base
The first two items—All‑Purpose Flour and Sugar—are the backbone of any good pancake. The flour provides the structure, creating a scaffold that traps air when the batter expands, while the sugar not only adds a gentle sweetness but also contributes to the browning of the top, giving you that golden‑brown “sunrise‑in‑a‑muffin” look. If you skip the sugar, you’ll lose the caramelized crust, and if you replace the flour with a gluten‑free blend, be prepared for a denser, more crumbly texture unless you add extra liquid.
The Texture Crew
Baking Powder is the leavening champion here, releasing steam and carbon dioxide that puff the muffins up into airy cylinders. Without it, you’ll end up with a dense slab that feels more like a “bread‑pancake” than a “pancake‑muffin.” Salt
Maple Syrup is the liquid gold that ties everything together. It seeps into the batter, providing moisture, a deep amber hue, and that unmistakable “maple‑kiss” that makes the whole thing feel like a luxury brunch. If you’re looking for a different profile, try a light drizzle of burnt‑sugar syrup for a deeper, molasses‑like depth, but be aware that it will change the overall sweetness profile. A quick tip: use a Grade A, Grade B, or even a local “sher‑steak” maple for a more nuanced flavor. Buttermilk is the liquid that gives the batter its tang and helps react with the baking powder for a higher rise. Its acidity also softens the gluten in the flour, resulting in a tender crumb that is “soft‑as‑a‑first‑kiss” on the inside. If you don’t have but buttermilk, mix 1 cup of milk with 1 tbsp of lemon juice or white vinegar and let it sit for five minutes; the result is practically identical. Finally, the Cooked Bacon is the star of the show, providing the salty‑savory contrast that makes the dish unforgettable. For the best texture, bake the bacon until it’s just crisp, then crumble it into the batter; this ensures each bite gets a “crackle‑like‑first‑snow” piece of pork. Everything's prepped? Good. Let’s get into the real action… Start by pre‑heating your oven to 375 °F (190 °C) and line a 12‑letter muffin tin with parchment liners. While the oven warms, the heat will start to coax the kitchen into a “warm‑and‑welcome” atmosphere, and the parchment will prevent any “stuck‑to‑the‑bottom” drama later. Place the liners in the tray, and set the tray on the middle rack; this ensures even air circulation for a uniformly baked top. The moment you open the oven, you’ll hear a soft “whoosh” that signals it’s ready for the first batch of breakfast brilliance. In a large mixing bowl, whisk together the All‑Purpose Flour, Sugar, Baking Powder, and Salt. The key here is to break up any clumps so that the final batter is silk‑smooth; think of it as “rolling a silk sheet flat” for a perfect surface. As you whisk, notice the mixture start to look like a pale, sand‑like “beach”—this is the foundation that will become the “golden‑sand” of your muffin’s interior. If you see any pockets of flour, keep whisking until the mixture is uniformly light and airy. In a separate bowl, whisk the Egg until it becomes a light golden “ribbon” and then stir in the Buttermilk followed by the Maple Syrup. As you pour the syrup, you’ll hear a gentle “sizzle” that is a promise of the sweet‑burned flavor to come. The mixture should look glossy and slightly thick, like a “silky‑syrup” that will later coat the interior of each muffin. Let this liquid rest for a minute; this pause allows the buttermilk’s acidity to start reacting with the baking powder, a “silent” chemical dance that will puff the muffins later. Now, gently pour the liquid into the dry mixture, using a rubber spatula to fold them together. The goal is a “gentle ocean tide” – you want to see a few small lumps that will disappear as the batter rests, not a completely smooth, overly mixed batter. This is the moment of truth: if you over‑mix, the gluten will develop too much, and you’ll end up with a tough “bread‑like” muffin rather than a fluffy “pancake‑like” one. Stop mixing as soon as the flour is just incorporated. Fold in the Cooked Bacon that you’ve already crumbled into medium‑sized pieces. The bacon should be distributed evenly so that each spoonful of batter gets a “pork‑pocket” that will melt into the interior as it bakes. If you want extra crispness, sprinkle a few extra bacon pieces on top of each muffin before baking; they will become a “crackle‑top” that adds a visual and textural contrast. Fill each liner about three‑quarters full. This “just‑right” fill ensures the tops will rise a little, creating a gentle dome that will top off with a golden‑brown “crown.” As you spoon the batter, you’ll notice the mixture is thick enough to hold its shape but still soft enough to be scooped with a spoon without spilling. The scent of maple and bacon will start to rise as you fill, and that is your first “nose‑first” confirmation that you’re on the right track. Place the pan in the oven and bake for 18‑20 minutes, or until the tops are a deep golden‑brown and a tooth‑pick inserted into the center comes out clean. About halfway through, the tops will start to “pull away” from the sides of the liners, which is the “first‑kiss” of the crust forming. If you love a more caramelized top, turn the oven to bro bro for the last two minutes, but keep a watchful eye; the syrup can burn quickly. When the timer goes off, remove the pan and let the muffins cool in the tin for five minutes. This pause lets the steam settle, preventing the tops from becoming soggy. After five minutes, transfer the muffins to a wire rack; they will continue to firm up as they lose the initial steam, achieving that “soft‑center, crisp‑edge” profile we love. While they cool, the kitchen will be awash in a warm, maple‑bacon aroma that will have anyone within a ten‑foot radius asking, “What’s baking?” Finally, enjoy warm with a drizzle of extra maple syrup if you’re feeling indulgent, or toast them lightly for a “toast‑like” crisp that turns the interior into a “soft‑sand” sandwiched between a toasted crust. This is the part where you taste the fruits of your labor and realize you’ve just created a breakfast that will become the centerpiece of many future mornings. That’s it — you did it. But hold on, I’ve got a few more tricks that’ll take this to another level… Most home bakers bake at 350 °F and think “good enough,” but the hotter 375 °F start creates a rapid rise that locks in moisture before the interior has a chance to dry out. This “quick‑rise‑method” yields a “stealth‑soft” interior while the exterior achieves that coveted golden‑brown “sun‑kissed” look. I once tried baking at a lower temperature for a “gentler” approach, and the result was a gummy center that resembled a “pancake‑syrup‑puddle” rather than a firm muffin. The trick is to roll into a hot oven, then let the heat do the rest. Before you even touch a tooth‑pick, sniff the top of the muffins. When you smell a faint toasted‑maple scent with a hint of pork‑smoke, you’re at the perfect moment to pull them out. Your nose detects the “first‑kiss” of caramelization earlier than a thermometer, so trust it. If the smell turns to a burnt‑sugar smell, the top is over‑cooked and you’ll need to lower the bro bro for the final minute. After baking, let the muffins sit in the pan for five minutes before transferring them to a rack. This short rest lets the interior steam settle, preventing the top from becoming soggy and the interior from falling apart. It’s the same principle used in “resting a steak”—the juices redistribute, and the texture becomes more “steak‑like” in its firmness. Skipping this step is the most common mistake I see in rushed breakfast attempts. If you add the bacon too early, it can become overly soft and lose its crispness. My favorite method is to bake the bacon until just crisp, let it cool, then crumble it just before the final fold. This preserves the “crackle‑like‑first‑snow” texture that gives each bite its surprise. A friend tried adding raw bacon to the batter and ended with a greasy, soft‑scented muffin that fell apart—let’s just say they learned the hard way. For an extra‑luxurious finish, drizzle a thin spoon‑ful of maple syrup onto the tops of the muffins halfway through the bake. The syrup will melt into a glossy glaze that becomes a “mirror‑like” top, while the interior stays moist. This technique is optional but adds a “glass‑top” look that will have Instagram‑ready photos rolling in. Just be careful not to use too much; you don’t want a syrup‑pool that turns the top into a sticky mess. This recipe is a playground. Here are some of my favorite ways to switch things up: Add diced apple and a teaspoon of cinnamon to the batter, and swap half of the bacon for smoked turkey. The result is a warm, autumn‑themed muffin that feels like “pumpkin‑pie” without the pumpkin. Ideal for a Thanksgiving brunch. Replace the maple syrup with a spoon‑ful of chili‑spiced chocolate sauce and sprinkle a pinch of cay c. The sweet‑spice‑hot combo gives a “Mexican‑hot‑cocoa” feel that will surprise even the most conservative breakfast lovers. Skip the syrup entirely, add a tablespoon of fresh rosemary and thyme to the dry mix, and use a sharper “smoked‑smoke” bacon. This turns the dish into a “breakfast‑for‑lunch” option that pairs beautifully with a side of avocado. Toss a handful of fresh blue‑berries into the batter and drizzle a light maple‑blue‑berry glaze after baking. The berries burst into a “burst‑of‑tang” that balances the salty pork, creating a “blue‑sky” morning. Replace the pork bacon with smoked tempeh or coconut‑bacon, and use a plant‑based “buttermilk” made from soy milk and lemon juice. The result is a “plant‑based” version that still delivers the “crackle‑like‑first‑snow” texture and the sweet‑syrup warmth. Place the cooled muffins in an airtight container with a paper towel on top to absorb any excess moisture. They will stay fresh for up to three days, and the paper towel will keep the tops from becoming soggy. If you want to keep them extra moist, add a slice of bread on the side of the container; the bread will release a gentle humidity that keeps the interior soft. For longer shelf‑life, wrap each cooled muffin individually in parchment, then place them in a zip‑top freezer bag. They will keep for up to two months without losing their “pancake‑soft” interior. When you’re ready to enjoy, let them thaw at room‑temperature for 15 minutes, then warm them in a toaster‑oven for five minutes. The gentle heat restores the golden‑brown crust and the interior becomes “fresh‑baked‑again.” To bring a refrigerated or thawed muffin back to life, place it on a baking sheet, spray a tiny mist of water onto the top, and heat in a pre‑heated 350 °F oven for eight‑ten minutes. The water creates a light steam that revives the interior’s softness while the top regains its “crackle‑like‑first‑snow” edge. Avoid microw‑selling, as it will make the top rubbery and the interior rubber‑like.The Unexpected Star
The Final Flourish

🔥 The Method — Step by Step
🏆 Insider Tricks for Flaw — Results
The Temperature Rule Nobody Follows
Why Your Nose Knows Best
The 5‑Minute Rest That Changes Everything
Bacon‑First, Then Mix
The “Double‑Syrup” Technique
🎨 Creative Twists & Variations
Apple‑Cinnamon Autumn
Chili‑Chocolate Surprise
Savory Herb Version
Blue‑Berry‑Bacon Bliss
Vegan‑Friendly Mock‑Bacon
❄️ Storing & Bringing It Back to Life
Fridge Storage
Freezer Friendly
Best Re‑Heating Method
💬 Your Questions, Answered