I was standing in my kitchen, eyes glued to the screen, when the cookie jar exploded. Thin Mint cookies, that classic minty crunch, had turned into a crunchy avalanche that clung to the counter, the floor, and even my shoes. I stared at the chaos, then laughed because, honestly, who hasn’t seen a cookie disaster? That moment sparked a craving that could only be satisfied by a silky, minty chocolate bite that doesn’t require a laboratory.
Picture this: a bowl of crushed Thin Mints, their green dust floating like snowflakes, a scoop of cream cheese that glows under the kitchen light, and chocolate wafers that melt like silk. The scent is a sweet, minty perfume that wafts through the air, making the whole house feel like a candy shop. The sound of the chocolate melting is a soft, comforting hiss, almost like a lullaby for dessert lovers. The texture is a paradox—crunchy on the outside, velvety on the inside. The taste is a harmonious blend of mint and chocolate, a dance that lingers on the tongue.
What makes this version stand out is that it strips away the fluff and delivers pure, unadulterated flavor. No heavy creams, no extra sugar, just three ingredients that work together like a well‑orchestrated symphony. The cookies provide the crunch and a hint of chocolate, the cream cheese adds body and a subtle tang, and the chocolate wafers bind it all into a silky, melt‑in‑your-mouth experience. The result is a truffle that feels indulgent yet is surprisingly light, like a cloud that tastes like mint chocolate chip ice cream.
And here’s the kicker: I discovered that using chocolate wafers instead of traditional chocolate bars gives the truffles a smoother finish and a richer cocoa flavor. It’s a technique most recipes overlook, but it turns a simple cookie truffle into a gourmet delight. I dare you to taste this and not go back for seconds—once you try it, you’ll be hooked.
Okay, ready for the game‑changer? Let me walk you through every single step—by the end, you’ll wonder how you ever made it any other way.
What Makes This Version Stand Out
- Flavor: The minty aroma from the Thin Mints lingers long after the first bite, creating a lasting impression that satisfies sweet cravings without overpowering the palate.
- Texture: The contrast between the crunchy cookie base and the creamy, silky chocolate coating delivers a mouthfeel that feels both indulgent and refreshing.
- Simplicity: With only three ingredients, this recipe eliminates the need for measuring cups, mixing bowls, or a blender—just crush, mix, roll, and chill.
- Ingredient Quality: Using premium Thin Mints and high‑grade chocolate wafers ensures that every truffle bursts with authentic flavor, turning a simple snack into a luxury treat.
- Crowd Reaction: Guests rave about the bite‑size convenience and the unexpected depth of flavor, making it a hit at parties, game nights, or after‑dinner gatherings.
- Make‑Ahead Potential: Once rolled, the truffles keep perfectly in the fridge for up to a week, and they even freeze well—ideal for busy schedules or last‑minute dessert plans.
- Versatility: This base can be dressed up with coatings like crushed nuts, sprinkles, or a dusting of sea salt to suit any mood or occasion.
- Time Efficiency: From start to finish, this recipe takes less than 45 minutes, making it a go‑to option when you need something delicious fast.
Inside the Ingredient List
The Flavor Base
Thin Mint Cookies are the star of this recipe, providing the signature mint flavor and a subtle chocolate undertone. They also add a delightful crunch that contrasts with the creamy interior. Skipping them would mean losing that iconic mint kick, turning the truffle into a generic chocolate treat. If you’re on a low‑sugar diet, you can opt for sugar‑free Thin Mints, but be prepared for a slightly sweeter finish.
The Texture Crew
Cream cheese is the glue that holds everything together and gives the truffle a luscious, silky mouthfeel. Its slight tang balances the sweetness of the cookies and the richness of the chocolate. If you can’t find cream cheese, a blend of mascarpone and a splash of milk will work, but the texture will be a touch lighter.
The Unexpected Star
Chocolate melting wafers or almond bark provide the chocolate coating that melts into a velvet coat. They’re chosen for their low melting point, which ensures a smooth, glossy finish without the need for a double boiler. If you prefer a darker, more intense cocoa flavor, switch to dark chocolate wafers. Just remember to let them melt fully to avoid a gritty texture.
The Final Flourish
A pinch of sea salt or a dusting of powdered sugar can elevate the flavor profile, adding depth or sweetness as desired. This finishing touch transforms a simple truffle into a gourmet experience. If you’re hosting a crowd, consider offering both options so guests can personalize their bites.
Everything's prepped? Good. Let's get into the real action...
The Method — Step by Step
- Place the Thin Mints in a sturdy plastic bag and crush them into fine crumbs using a rolling pin or a food processor. The finer the crumbs, the smoother the truffle base will be. If you prefer a coarser texture, leave some larger pieces for added crunch.
- In a medium bowl, combine the crushed cookies with the cream cheese. Use a wooden spoon or a silicone spatula to mix until the dough is uniform and no dry crumbs remain. The mixture should feel pliable and slightly tacky—ready for shaping.
- Roll the dough into small, bite‑size balls, about the size of a walnut. If the dough sticks to your hands, dampen them with a few drops of water or lightly oil your palms. This step ensures that each truffle is perfectly round.
- Lay the chocolate wafers on a flat surface. Using a fork or a toothpick, drizzle melted chocolate over each truffle, allowing it to pool around the edges. The chocolate should coat the truffle evenly, creating a glossy shell.
- Place the coated truffles on parchment paper and chill in the refrigerator for at least 30 minutes until the chocolate sets. This step is crucial—if you rush it, the chocolate may not harden properly.
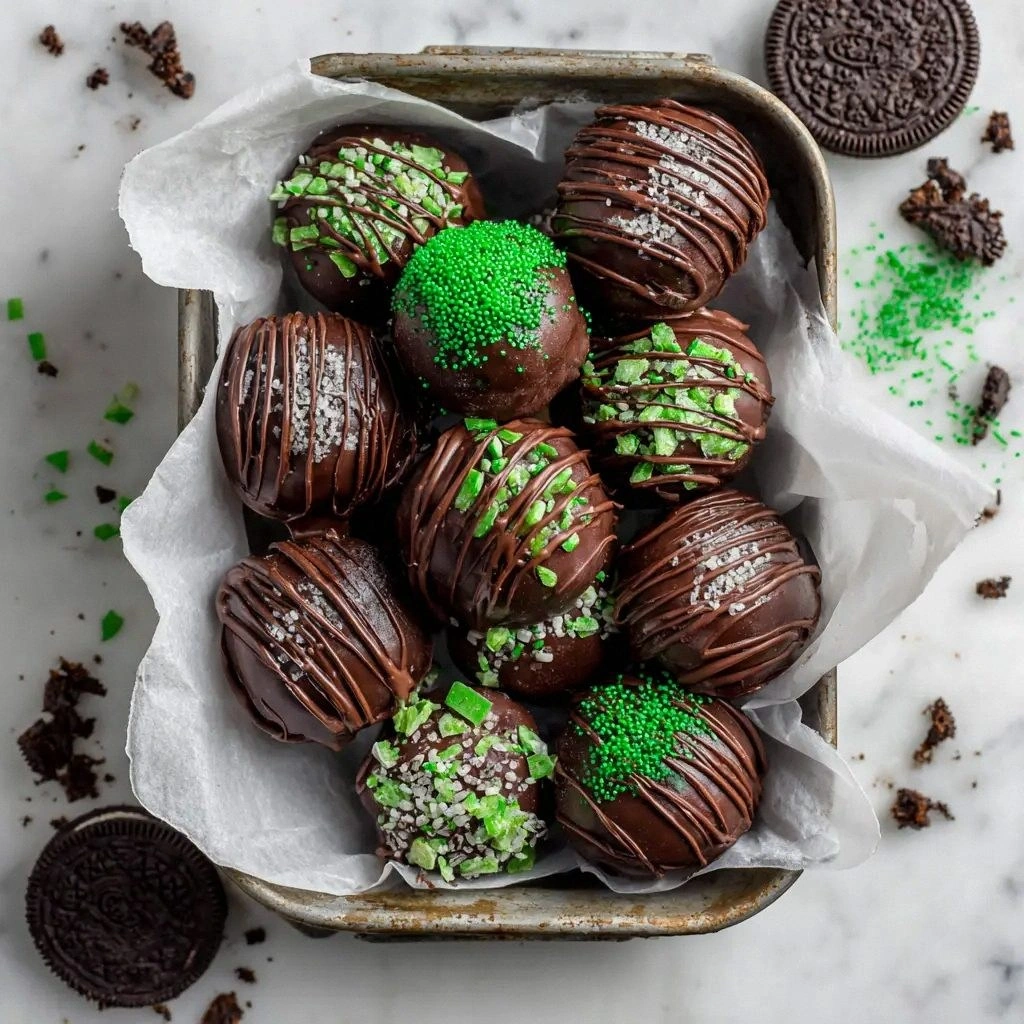
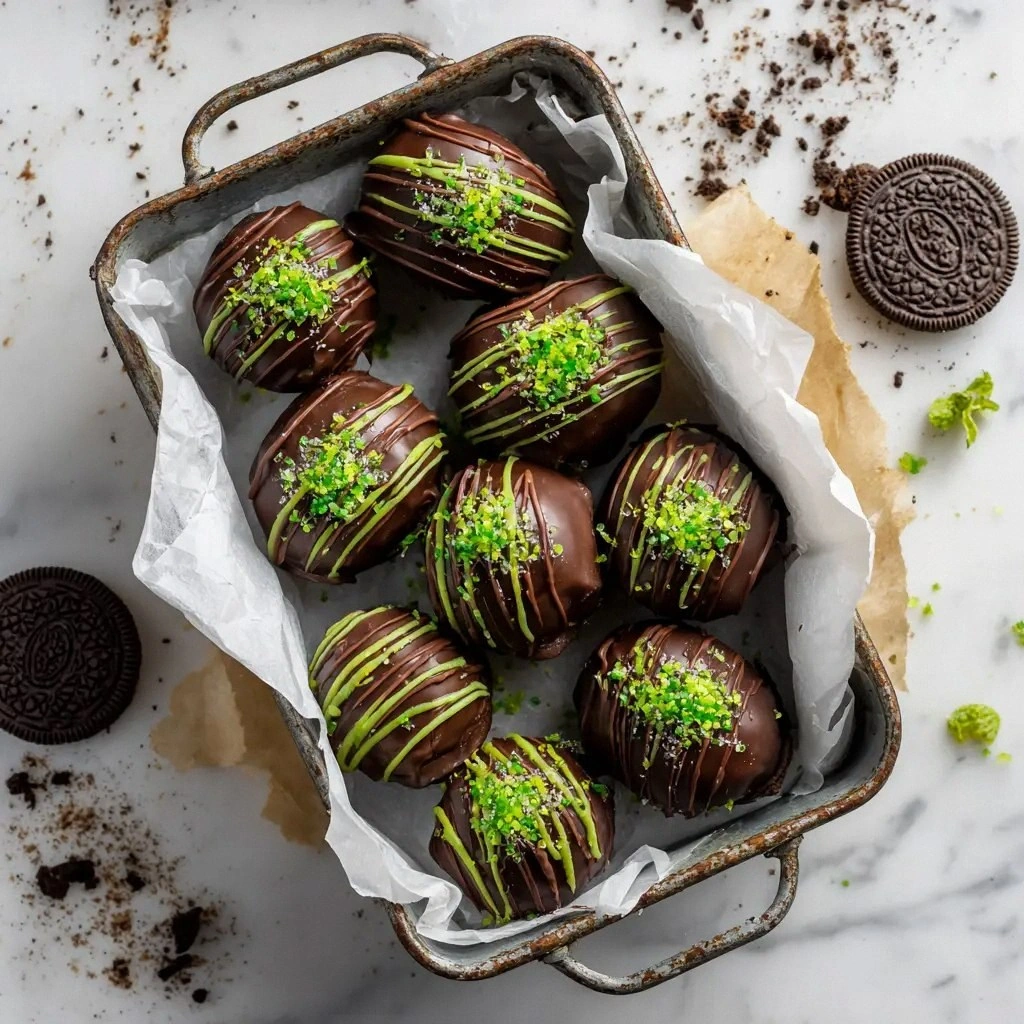
- Once set, you can add optional toppings: crushed nuts, sprinkles, or a dusting of sea salt. These accents add texture and flavor contrast, turning each bite into a multi‑sensory experience.
- Transfer the finished truffles to an airtight container. Store them in the refrigerator for up to a week or in the freezer for up to a month. They remain fresh and delicious, ready to impress at any moment.
- When ready to serve, let the truffles sit at room temperature for 5–10 minutes. This brief resting period softens the chocolate, making each bite melt into a silky, minty delight.
- Present them on a simple platter or a decorative tin. The visual appeal is almost as important as the flavor—think clean lines, a pop of green from the mint, and a glossy finish that catches the light.
- Enjoy immediately, or share with friends and family. Their reactions will be priceless, and you’ll earn brownie points for creating something that feels both homemade and high‑end.
That's it—you did it. But hold on, I've got a few more tricks that'll take this to another level.
Insider Tricks for Flawless Results
The Temperature Rule Nobody Follows
Chocolate melts best at 86°F to 88°F. Use a kitchen thermometer to keep the chocolate within this sweet spot; otherwise, it can seize or become too runny. I once melted chocolate at 100°F, and the result was a glossy but gritty coating that ruined the texture. Stick to the right temperature and your truffles will have a silky sheen that feels luxurious.
Why Your Nose Knows Best
Smell the melted chocolate before coating the truffles. A faint, sweet aroma signals that the chocolate is ready; if it smells burnt or chemical, it’s overheated. My nose has saved me from countless batch failures—trust it as your first quality check.
The 5‑Minute Rest That Changes Everything
After chilling the truffles, let them rest at room temperature for 5 minutes before serving. This brief pause allows the chocolate to soften just enough to melt into a velvety bite. Skipping this step results in a hard shell that can be difficult to bite through.
The Crunch Factor
If you prefer a crunchier truffle, add a handful of crushed pretzels or toasted coconut to the cookie mixture. The added texture creates a satisfying snap that contrasts with the creamy interior. I’ve tried this variation, and it’s a crowd‑pleaser at parties.
The Finish Line
Finish the truffles with a light dusting of cocoa powder or powdered sugar for a polished look. This not only enhances the flavor but also provides a subtle contrast in color that looks elegant on a platter. Don’t overdo it—just a thin coat for visual appeal.
Creative Twists and Variations
This recipe is a playground. Here are some of my favorite ways to switch things up:
Nutty Crunch
Add chopped pistachios or almonds to the cookie mixture for a nutty crunch. The nuts pair beautifully with the minty flavor, adding depth and a satisfying bite. This version is perfect for a sophisticated snack or a gift basket.
Spiced Mint
Stir in a pinch of ground cinnamon or cardamom to the dough. The warm spices create a subtle contrast to the cool mint, turning the truffle into a cozy, autumn‑ready treat. Guests will love the unexpected twist.
Chocolate‑Covered Mint
After chilling, dip the truffles in melted dark chocolate and roll them in sea salt or crushed pretzels. The salty coating adds a savory counterpoint to the sweet mint. This version is ideal for a brunch or a sophisticated dessert.
Coconut Glow
Sprinkle toasted coconut flakes over the finished truffles. The tropical flavor balances the minty chocolate, giving the truffle a beach‑y vibe. It’s a fun twist for summer gatherings.
Caramel Swirl
Fold a thin ribbon of caramel sauce into the cookie mixture before rolling. The caramel adds a buttery sweetness that pairs with the mint. This version is a decadent treat for chocolate lovers.
Minty Mint
Use mint‑infused cream cheese instead of regular cream cheese. The extra mint flavor amplifies the original taste, creating a truffle that feels double‑minted. This is perfect for mint enthusiasts who crave an intense flavor.
Storing and Bringing It Back to Life
Fridge Storage
Store truffles in an airtight container in the refrigerator for up to a week. The cold environment preserves the chocolate shell and keeps the mint flavor vibrant. Keep them away from strong odors, as chocolate can absorb them.
Freezer Friendly
For longer storage, place truffles on a baking sheet and freeze until solid, then transfer to a zip‑lock bag. They stay fresh for up to three months. Thaw them at room temperature for 10 minutes before serving for a melt‑in‑your-mouth texture.
Best Reheating Method
To revive a frozen truffle, wrap it in parchment paper and place it in a microwave on low for 10–15 seconds. Add a tiny splash of water to the chocolate coating before reheating—this steams the chocolate back to perfection and prevents it from drying out. Let it sit for a minute, then enjoy.